●Team Aura/Familiar
Use Beldelle's Attack Aura with the Colossus Djinn/Starshade Servitor Familiar to maximize the team's damage output. If survivability is an issue, switch the Familiar to Long-Eared Deer.
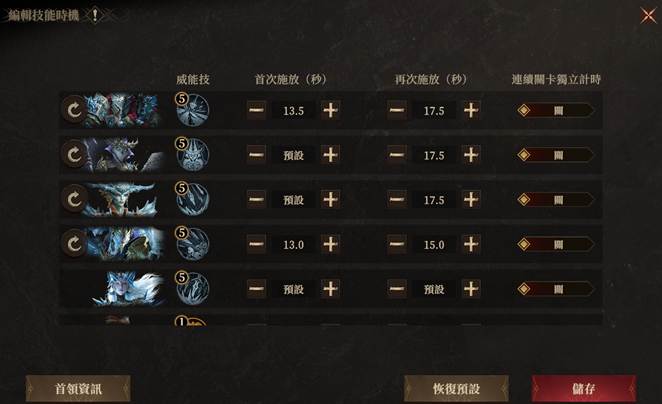
●Skill Timing Reference
●Important Notes
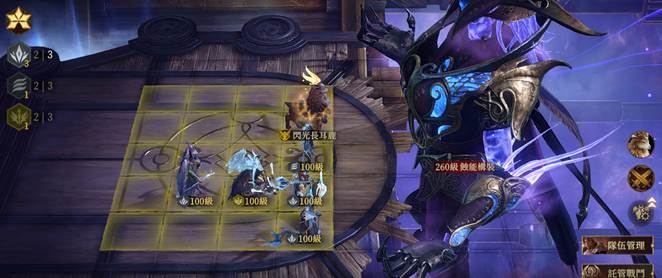
1. Position as shown so that after displacement, Shinnah takes most of the incoming fire while ensuring Beldelle can benefit from the Damage Bonus from Shinnah's Whirling Edge;
2. Aethereal can be replaced with Zhorak. Travelers without Anselmo should use a 2-Support + 3-DPS strategy. In this case, do not field Aethereal; replace her with Felosia/Feenja + Voresh, and stack some Resistance on all members after the swap.
●Hero Replacement Reference

Healing
Debuff Immunity
Dispel Buffs
Increase Ally Damage Output |

Replenish Ally Ice Crystal
Increase Ally Damage Output
|

Grant Ice Crystal
Increase Ally Damage Output
|

Main Forces Damage Output
|
| Replacement Reference |

Shield
Damage Reduction |

Healing
Dispel Buffs |

Grant Ice Crystal
Increase Ally Damage Output |

Grant Ice Crystal
|

Main Forces Damage Output
|
Build Reference
●Key Attribute Requirements
Anselmo: Accuracy > 290; Skill Haste as high as possible;
Aethereal: Accuracy > 220; focus remaining stats on Attack.
Stack HP and Defense first on Shinnah, then Attack, to share more stats with Beldelle
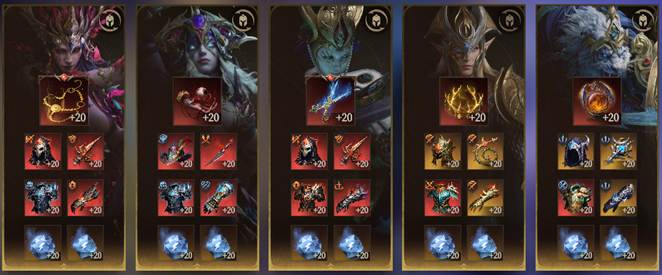
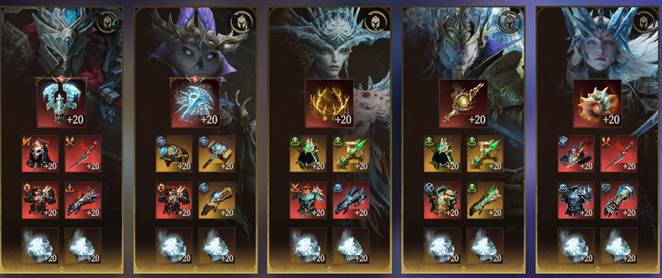
●Gear Reference
If Anselmo's Inspiration Level is high, switch to the Secrecy Order's Chant set to raise the team's damage output ceiling.
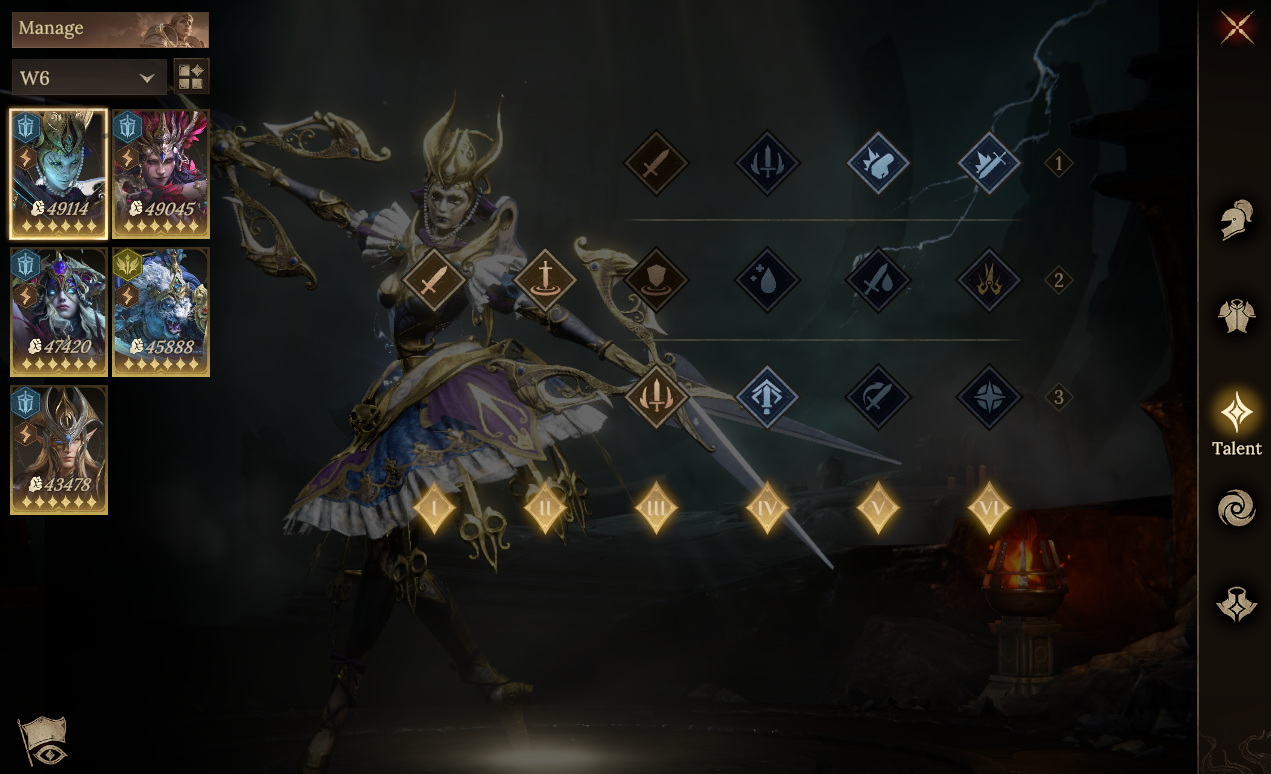
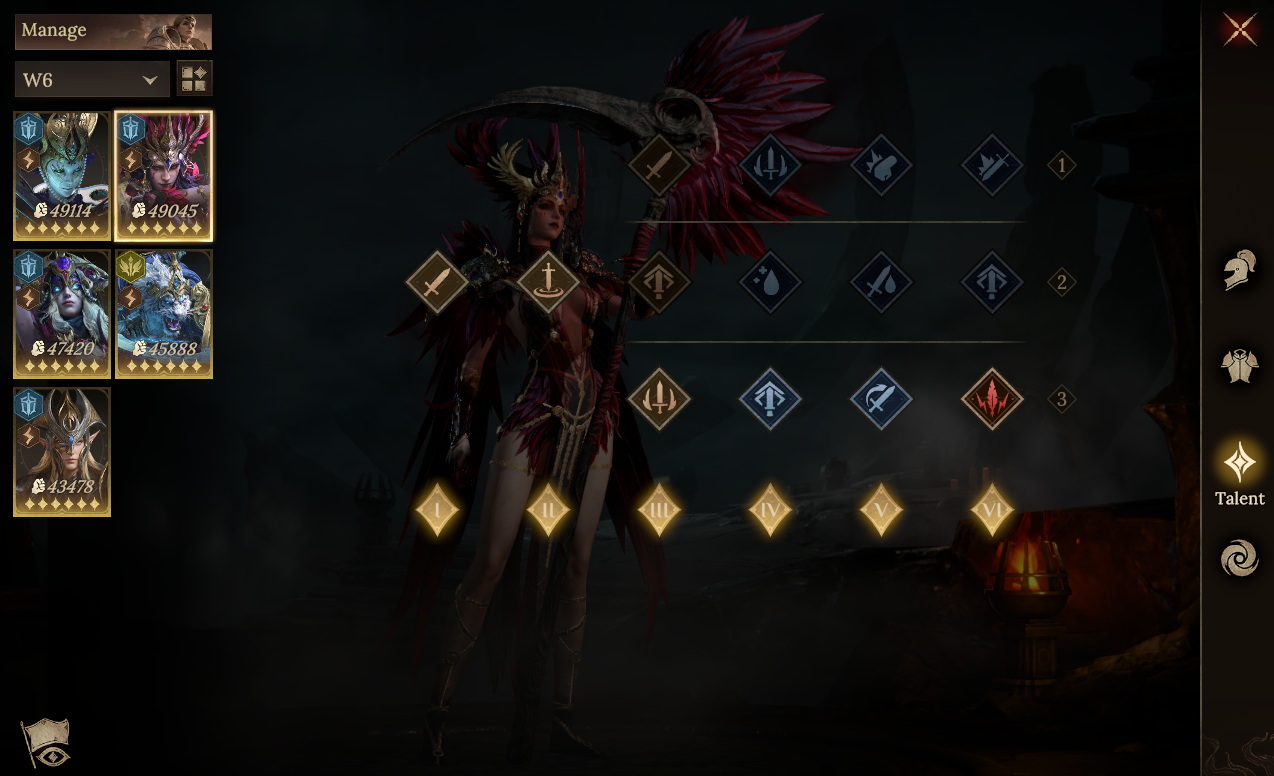
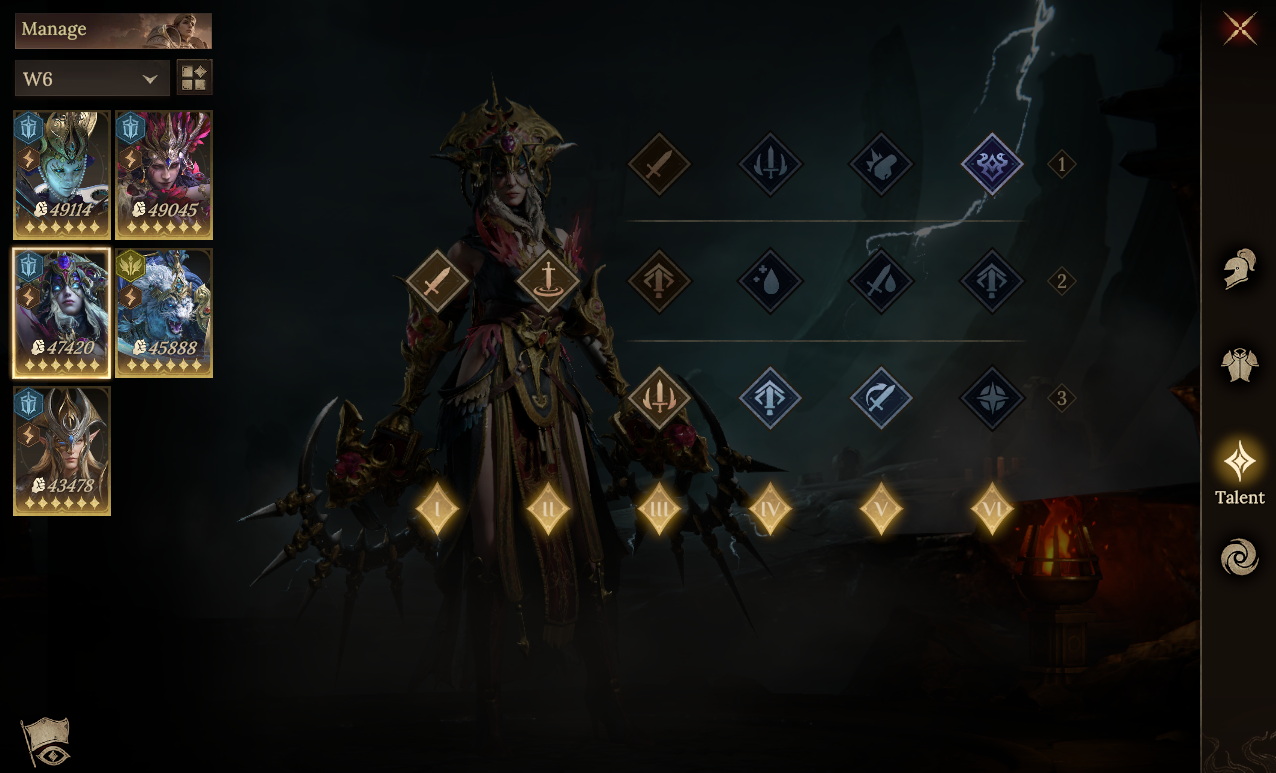
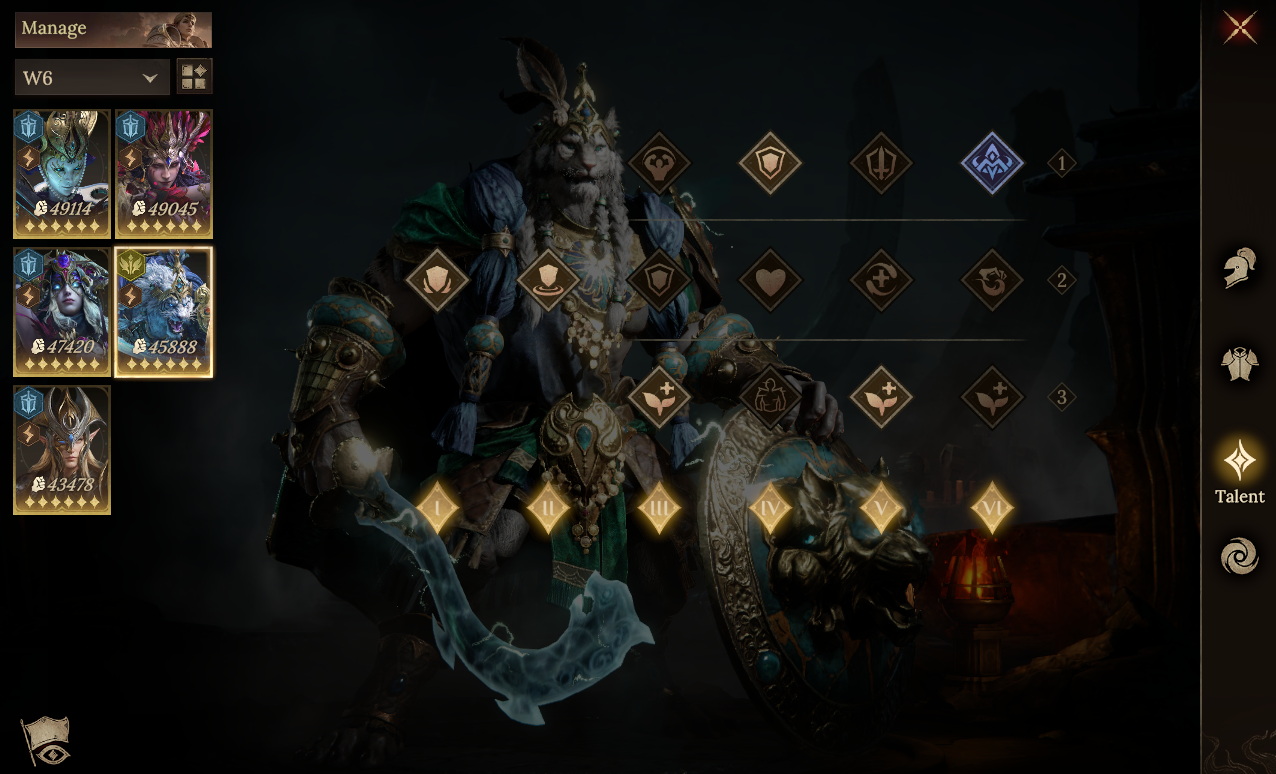
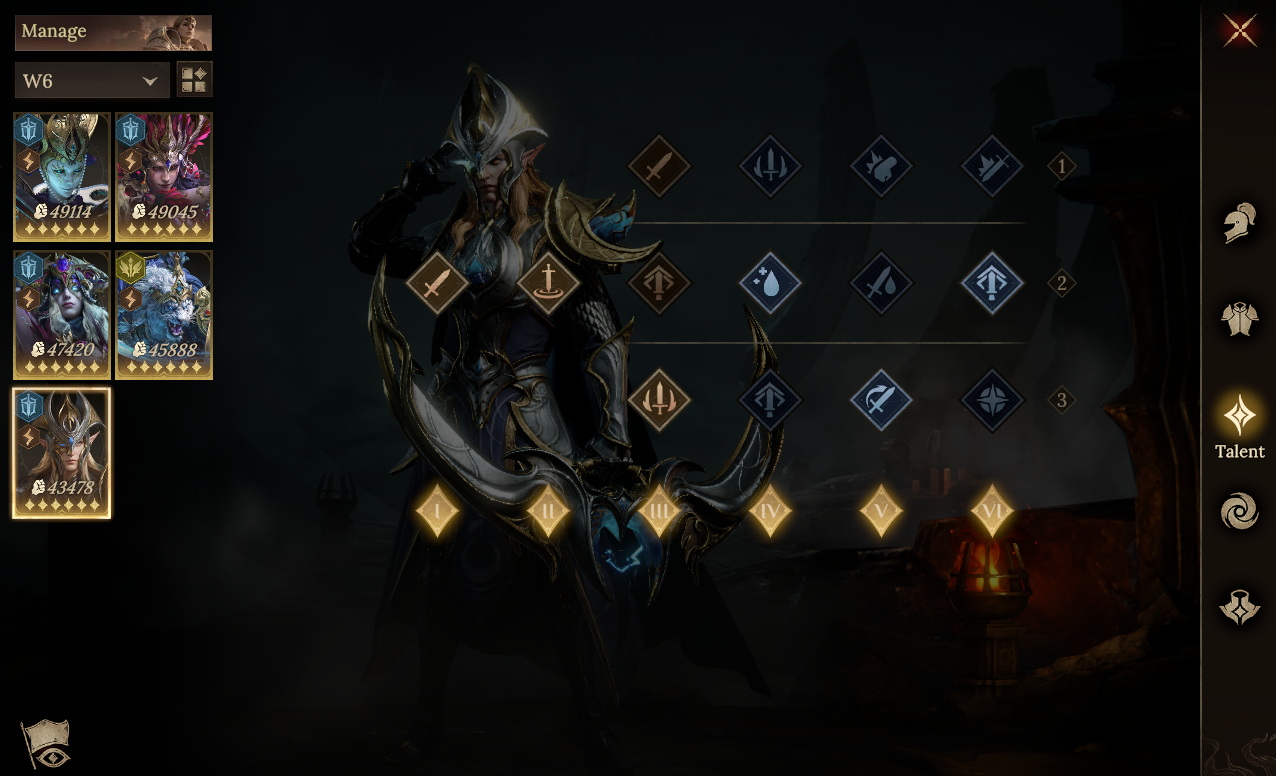
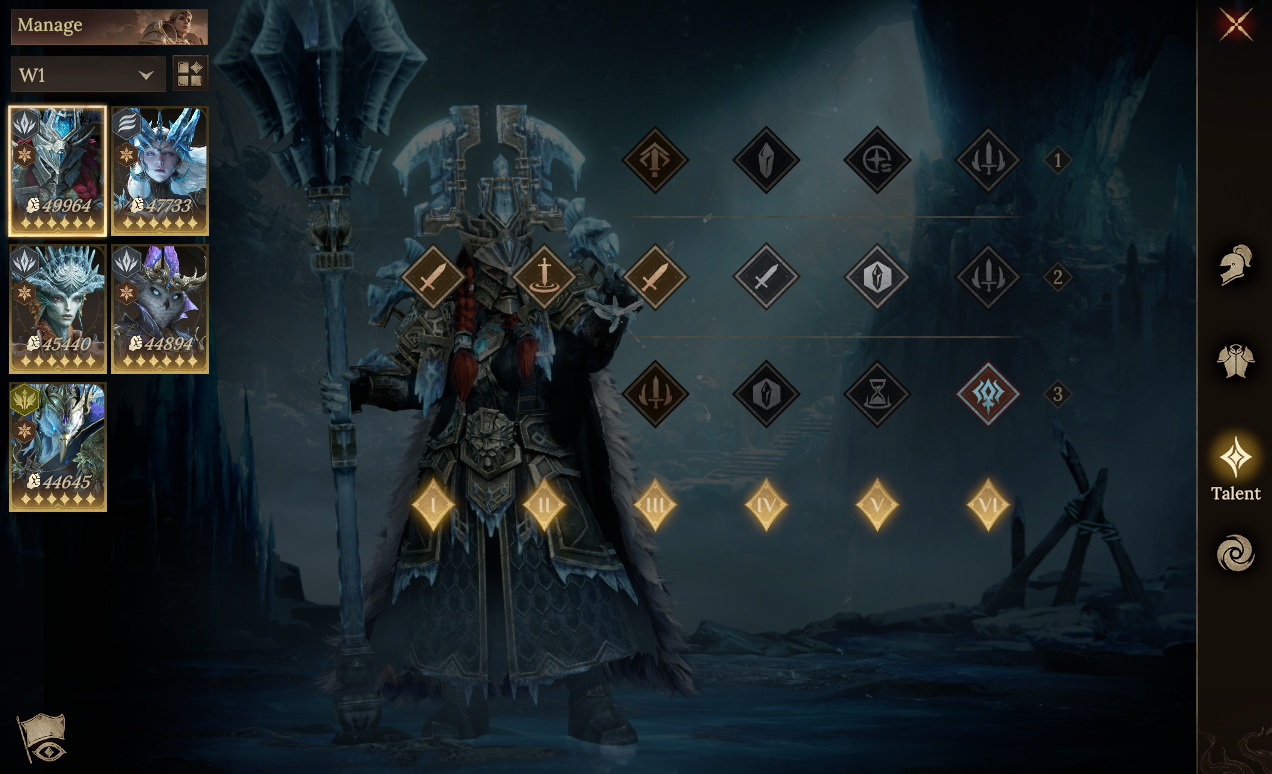
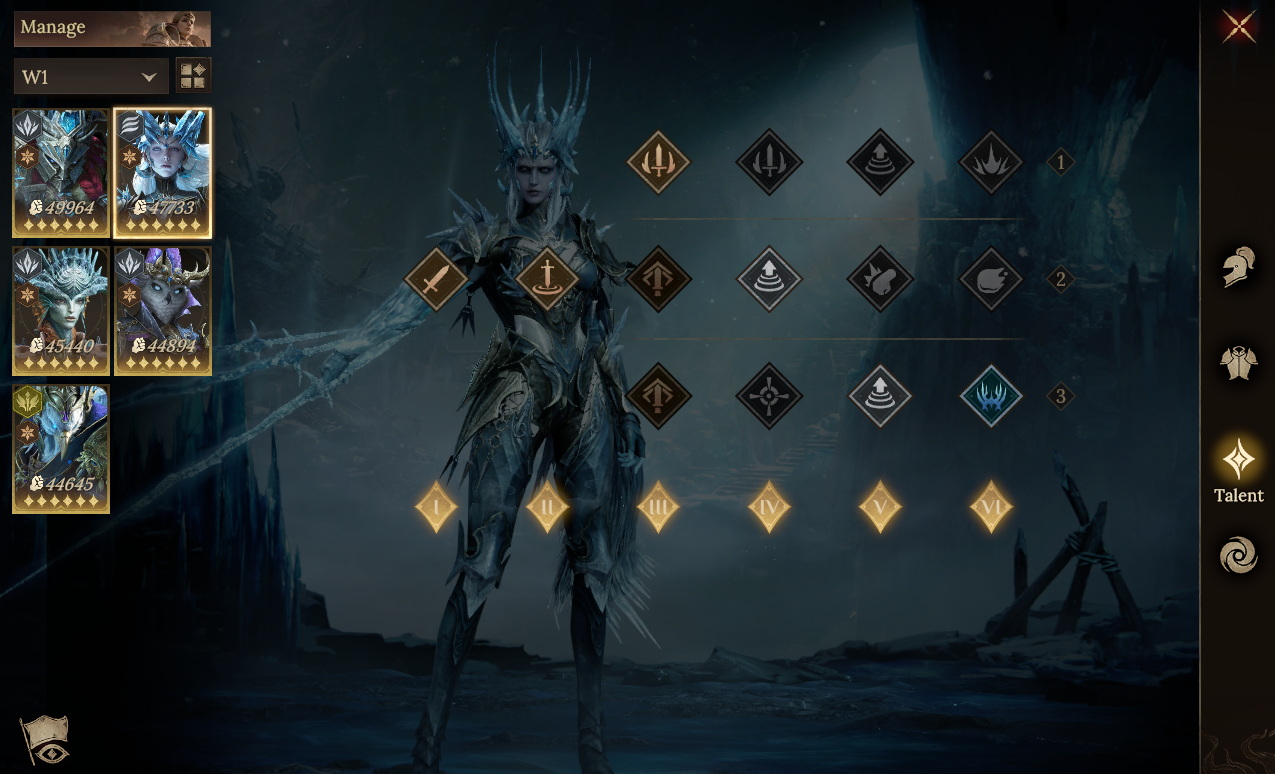
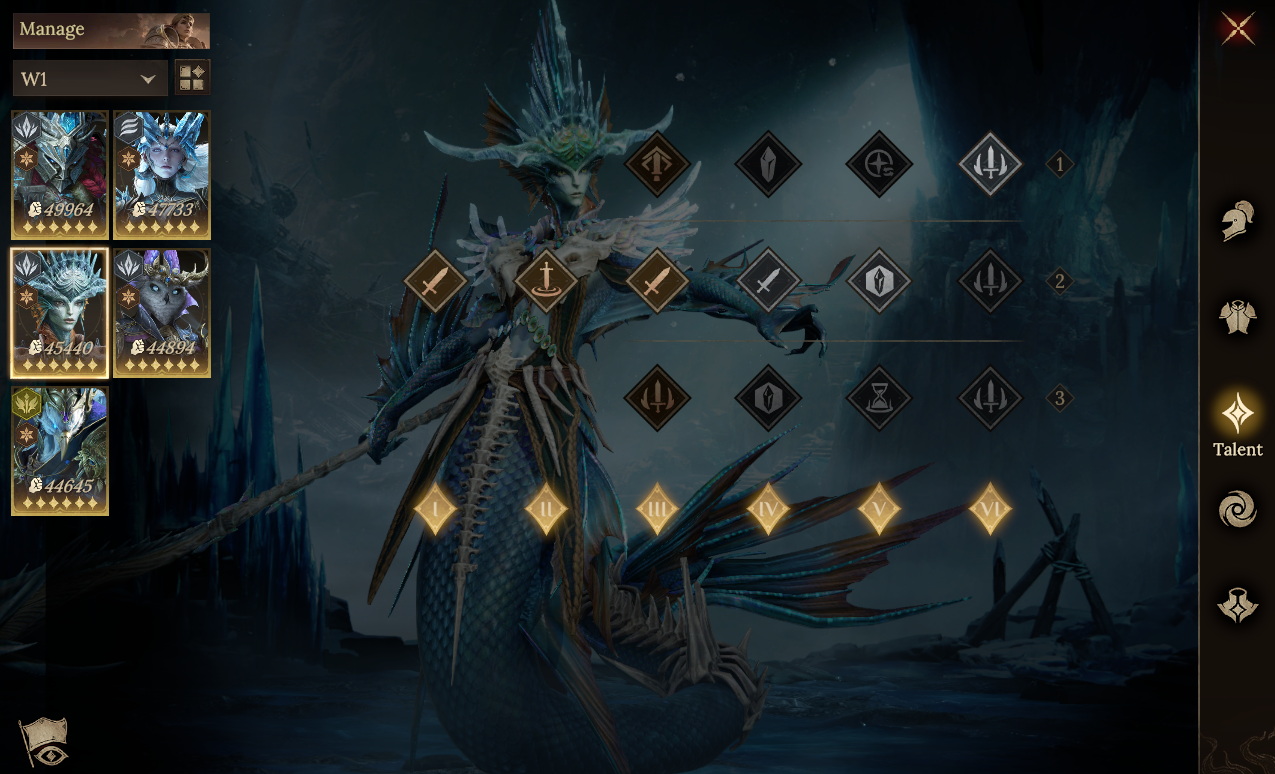
 ●Talent Reference
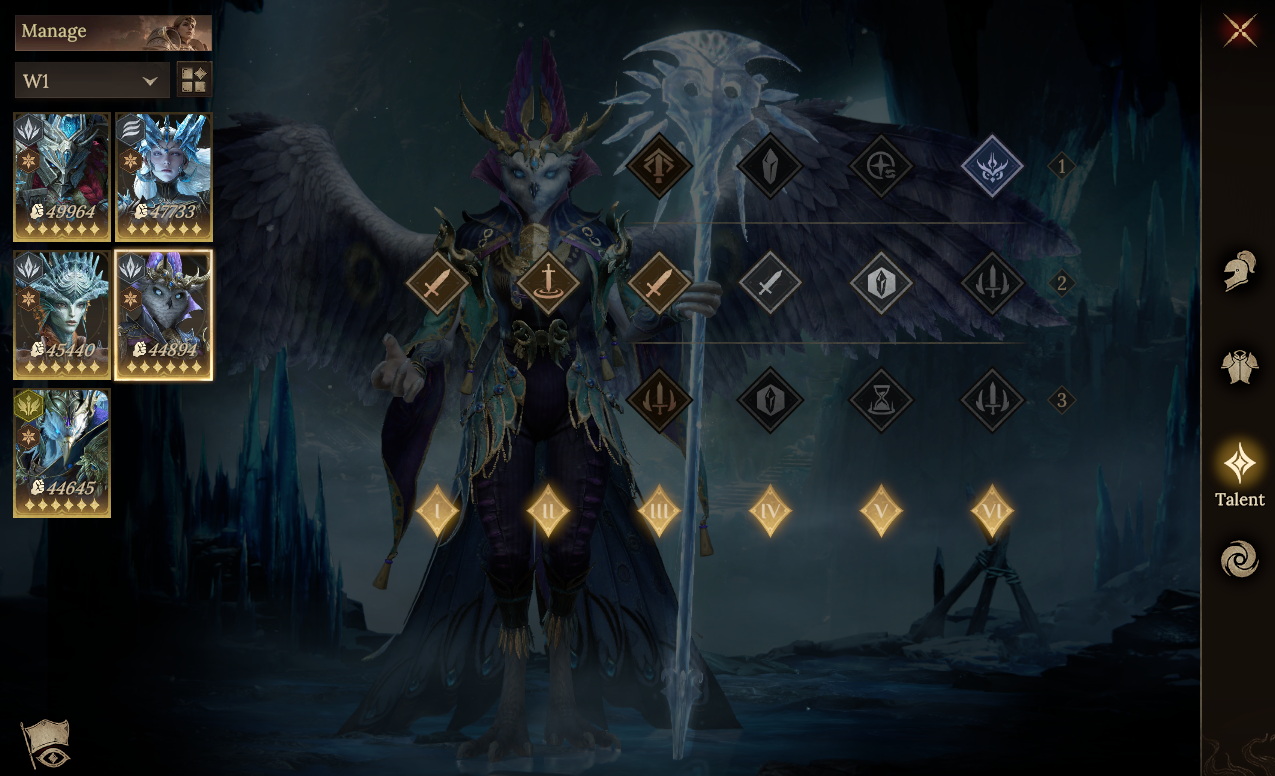
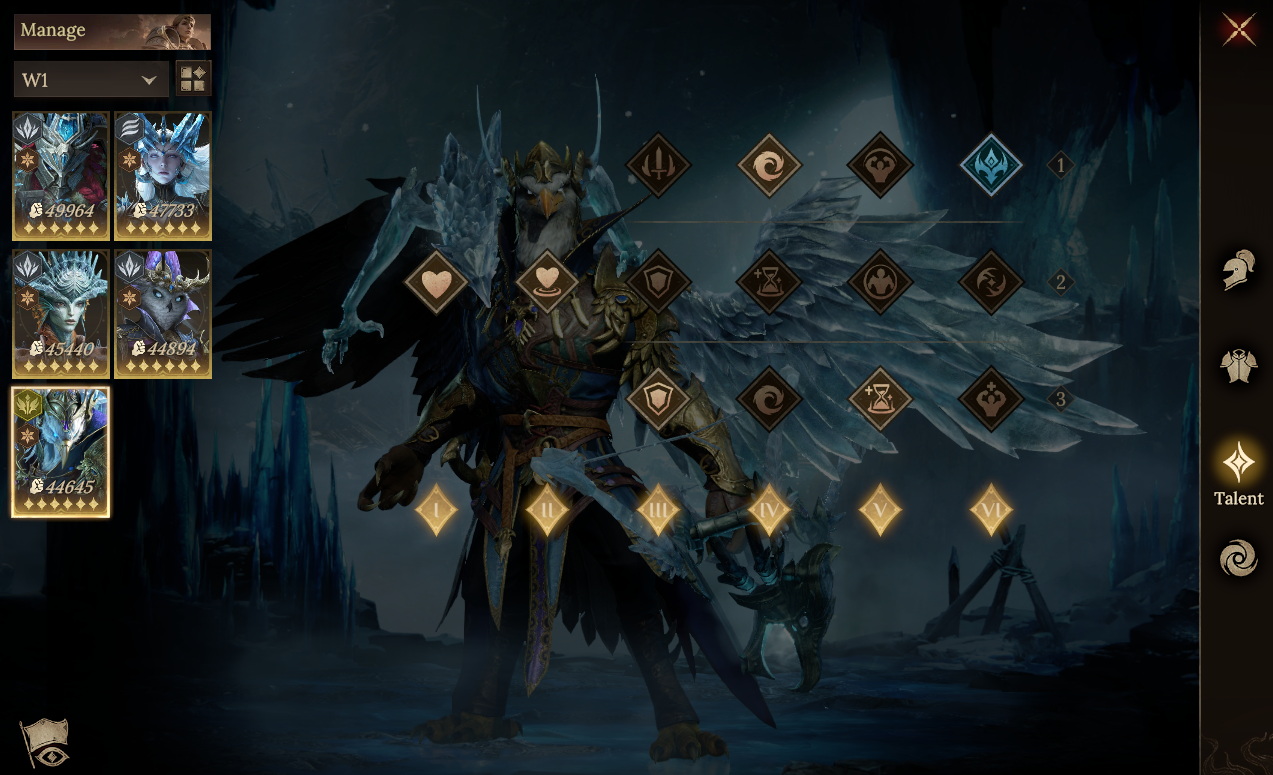
[Recommended Lineup 2]
Team Composition:
Rena + Talethia + Diantha + Lincos + Anneliesis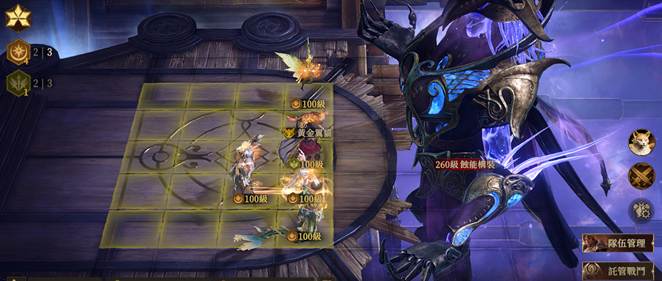
●
Team Aura/FamiliarUse
Diantha's
Attack Aura with the
Tressym Familiar to maximize the team's damage output.
●
Skill Timing Reference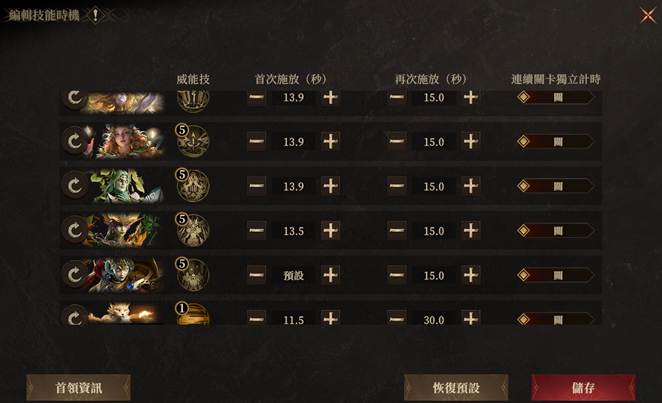
●Important Notes
1. Keep Talethia's Attack second only to Lincos's, ensuring Talethia is the target for buffs from Lincos's passive skill and ultimate skill;
2. Stack some HP and Defense on Lincos and Anneliesis to keep them from dying mid-fight;
3. If you do not have Rena, swap in Support heroes such as Acilia or Rose to handle debuffs.
●Hero Replacement Reference

Healing、Shield
Dispel Debuffs
Boost Ally Stats |

Main Forces Damage Output
|

Increase Ally Damage Output
Restore Aura Energy
|

Increase Ally Damage Output
Restore Aura Energy |
| Replacement Reference |

Healing
Debuff Immunity |

Increase Ally Damage Output
|

Main Forces Damage Output
|

Increase Ally Damage Output
Restore Aura Energy |

Increase Ally Damage Output
Restore Aura Energy |
Build Reference
●Key Attribute Requirements
Diantha: Accuracy > 290; Skill Haste > 20;
Lincos: prioritize Attack, Skill Haste > 20;
Anneliesis: Resistance > 340; Skill Haste as high as possible;
Rena: Resistance > 340; prioritize HP and Defense for all other stats
●Gear Reference
If stacking Resistance on Rena is difficult, consider replacing the Legendary set with a 2-piece set that increases Resistance. This also lets her equip an additional Everlasting Candleflame.
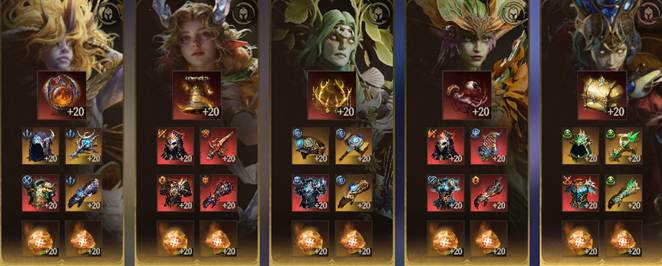 ●Talent Reference
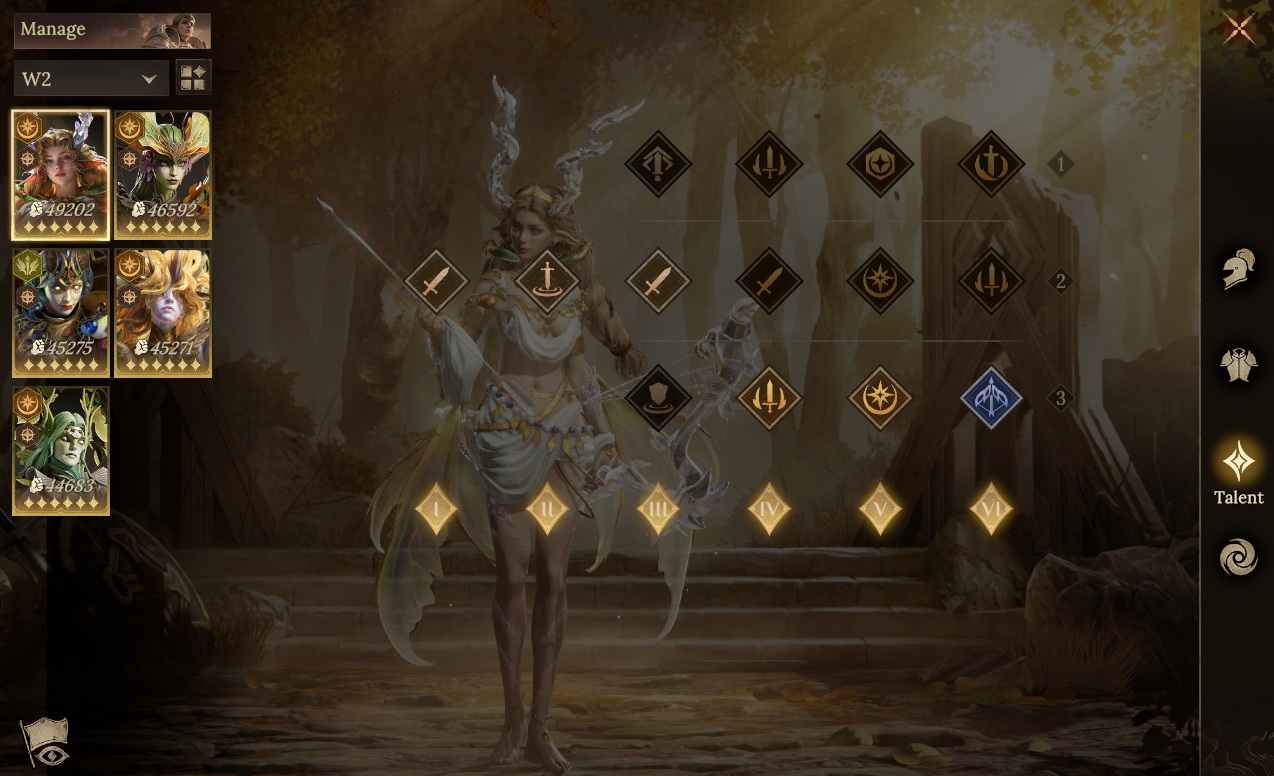
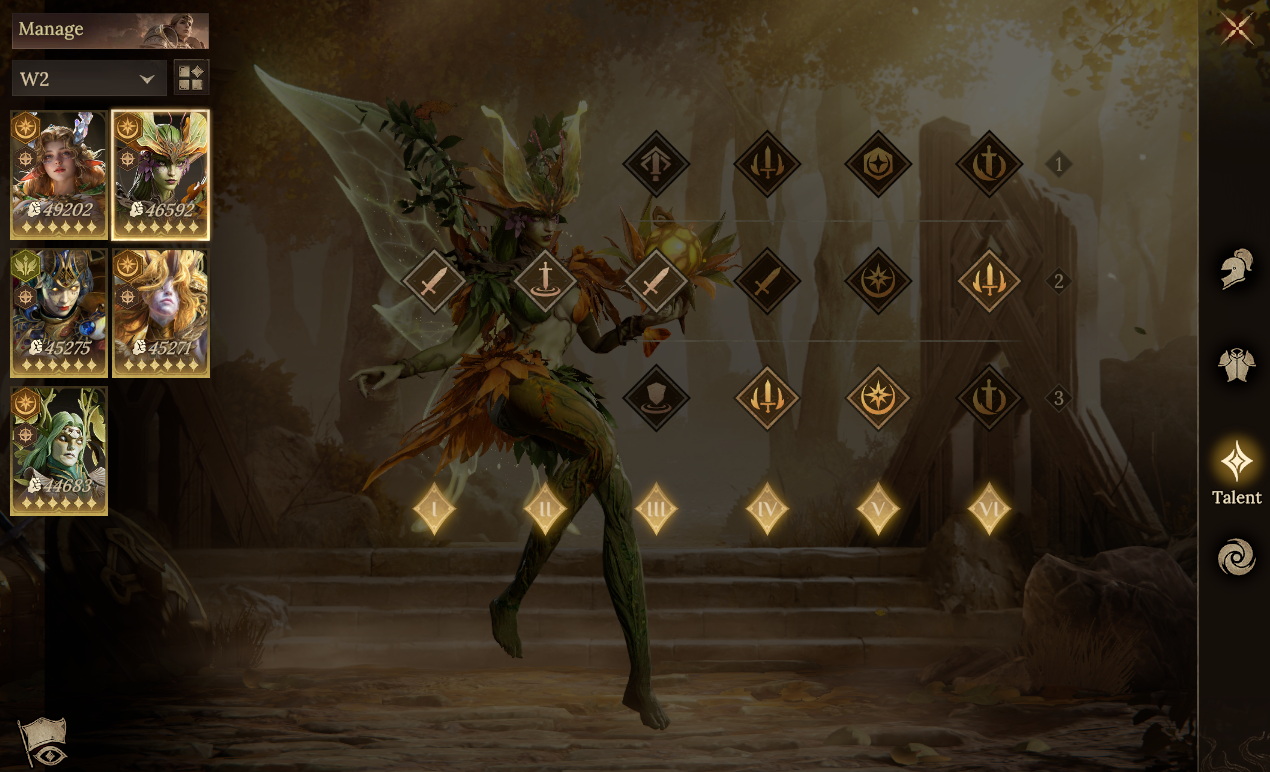
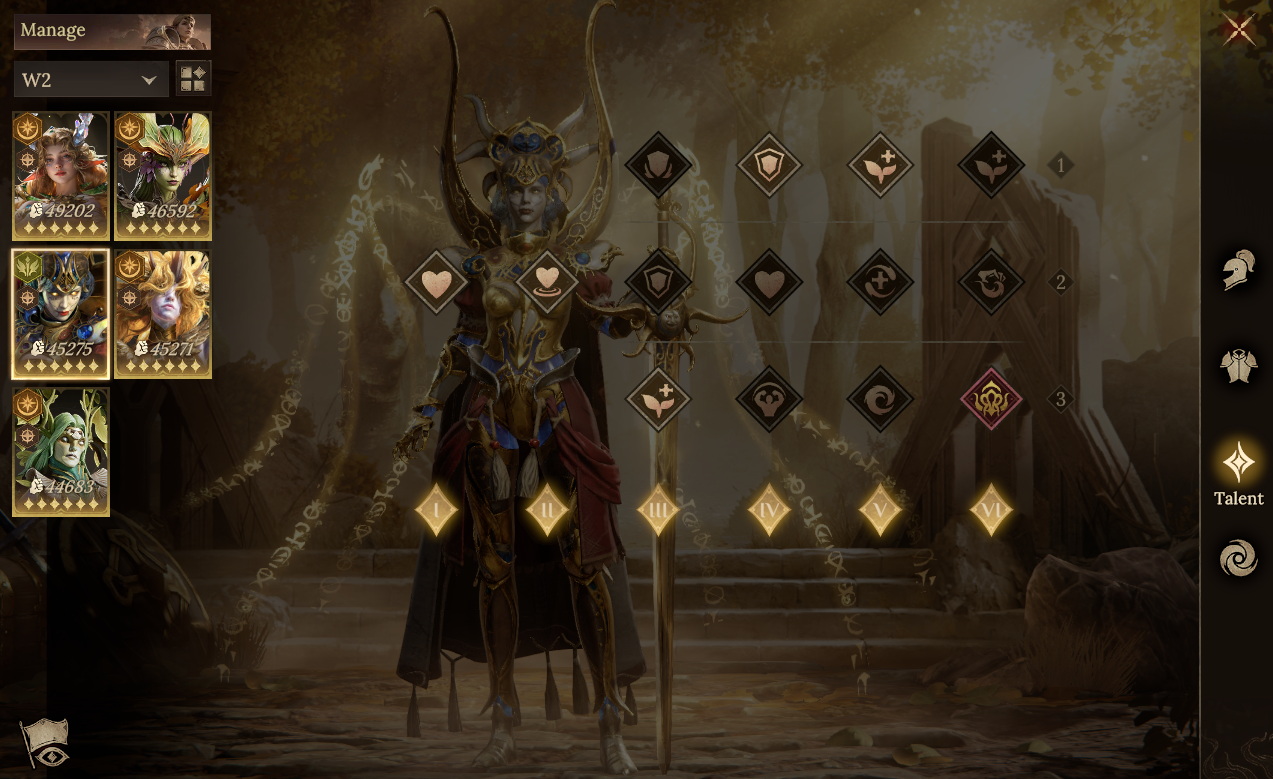
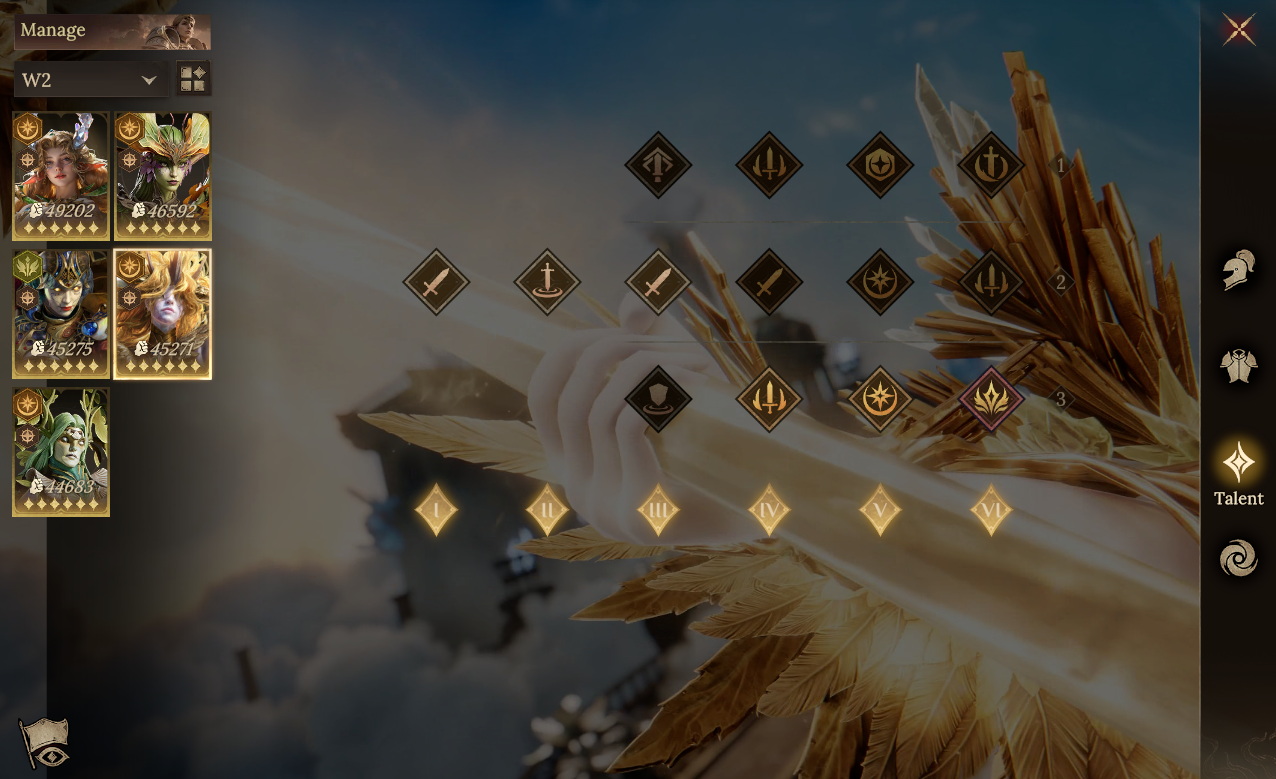
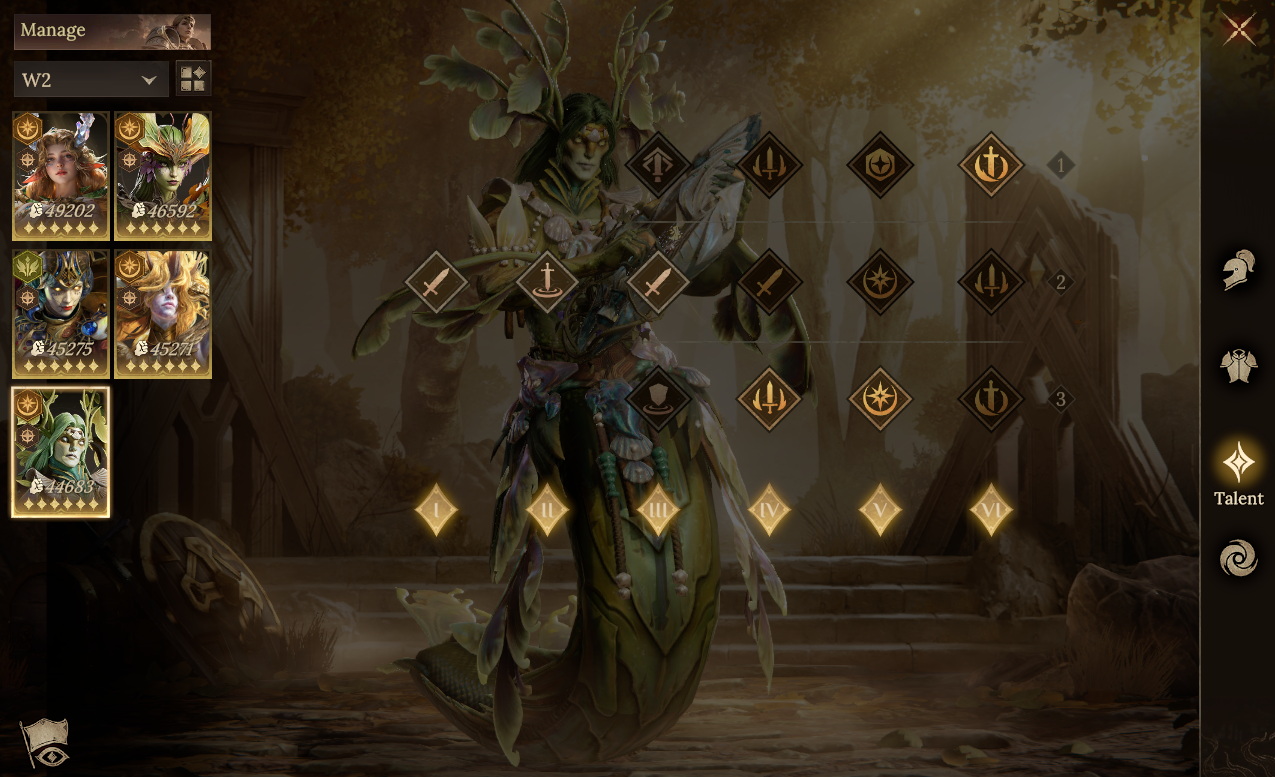
[Recommended Lineup 3]
Team Composition:
Astaion + the Dark Lady + Lelwanis + Bernade + Sintrellia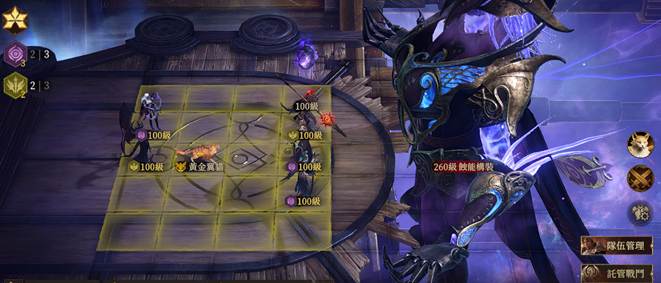
●
Team Aura/FamiliarUse
Sintrellia's
Attack Aura with the
Tressym Familiar to maximize the team's damage output.
●
Skill Timing Reference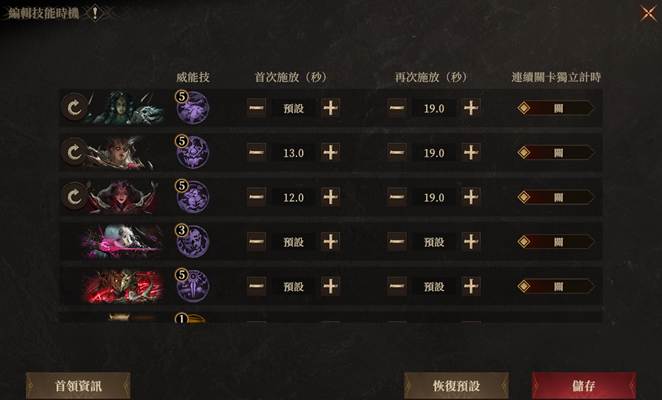
●Important Notes
1. The positioning shown lets Lelwanis receive stat sharing from Bernade + Astaion equipped with Everlasting Candleflame. Sintrellia can also be replaced with Irzillas/Larclys.
2. If the Dark Lady has a high Inspiration Level, you can also consider a 1-Support + 4-DPS strategy and replace Astaion with Irzillas/Larclys.
●
Hero Replacement Reference

Healing
Steal Attributes |

Secondary Damage Output
Increase Ally Damage Output |

Increase Ally Damage Output
|

Main Forces Damage Output |
| Replacement Reference |

Healing
Debuff Immunity |

Increase Ally Damage Output
Spawn Summoned Unit |

Secondary Damage Output
|

Main Forces Damage Output
|
Build Reference
●Key Attribute Requirements
The Dark Lady: Accuracy > 270; prioritize HP and Defense for all other stats; Skill Haste as high as possible;
Bernade and Sintrellia: stack Attack first, then HP and Defense, to share more stats with Lelwanis;
Astaion: Accuracy > 220; focus remaining stats on HP and Defense
●Gear Reference
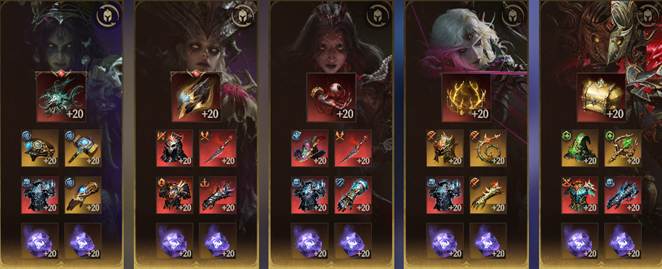 ●Talent Reference
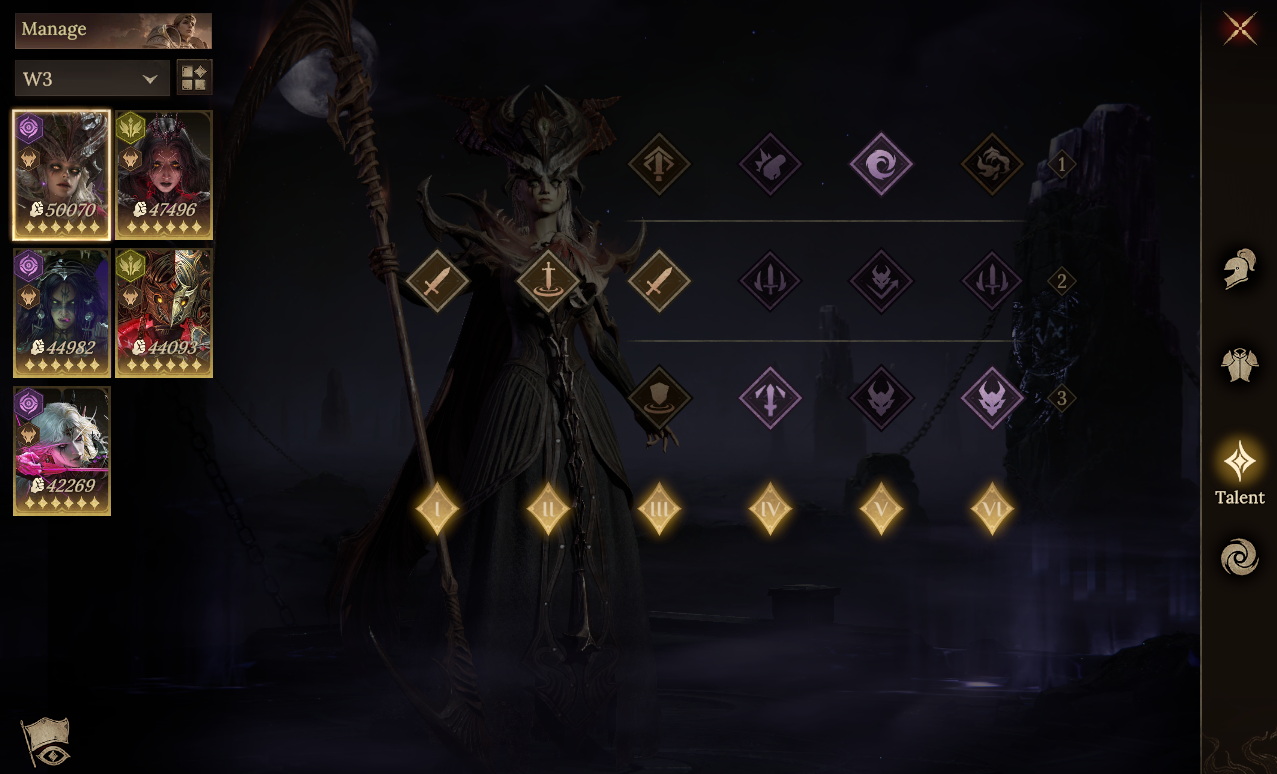
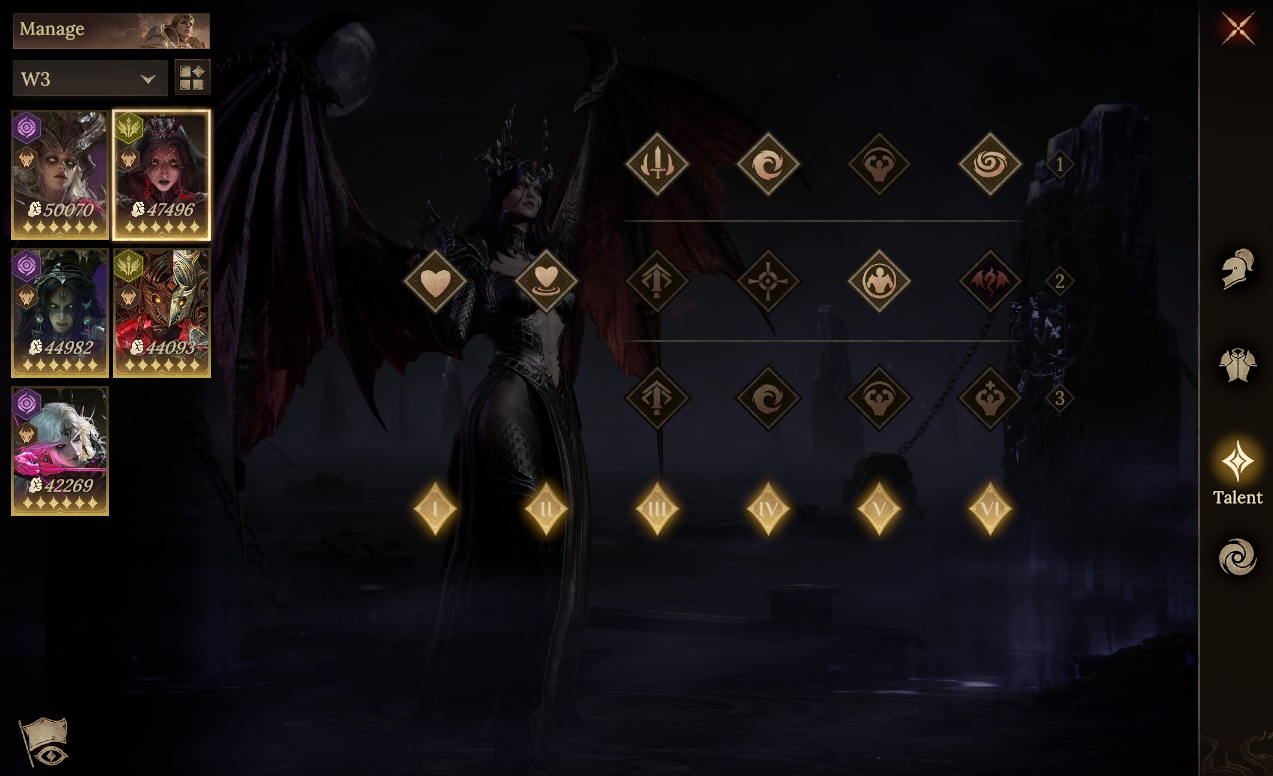
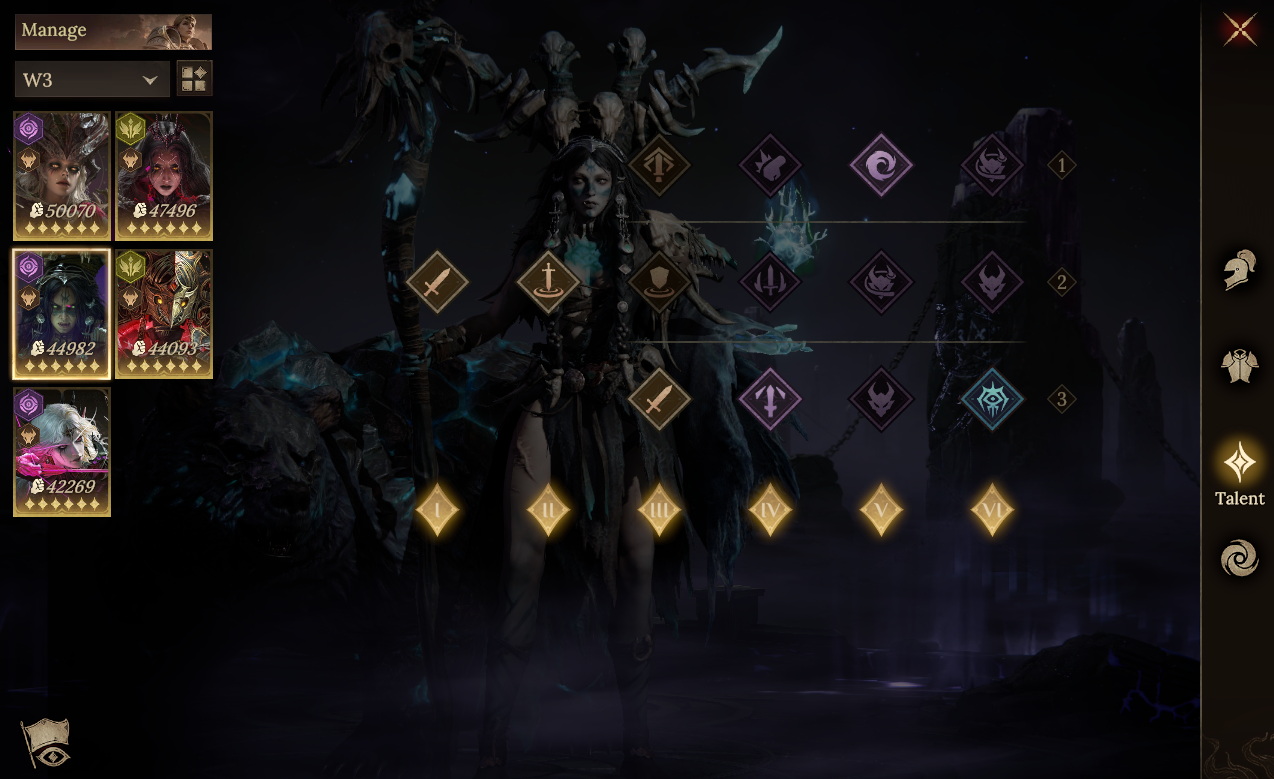
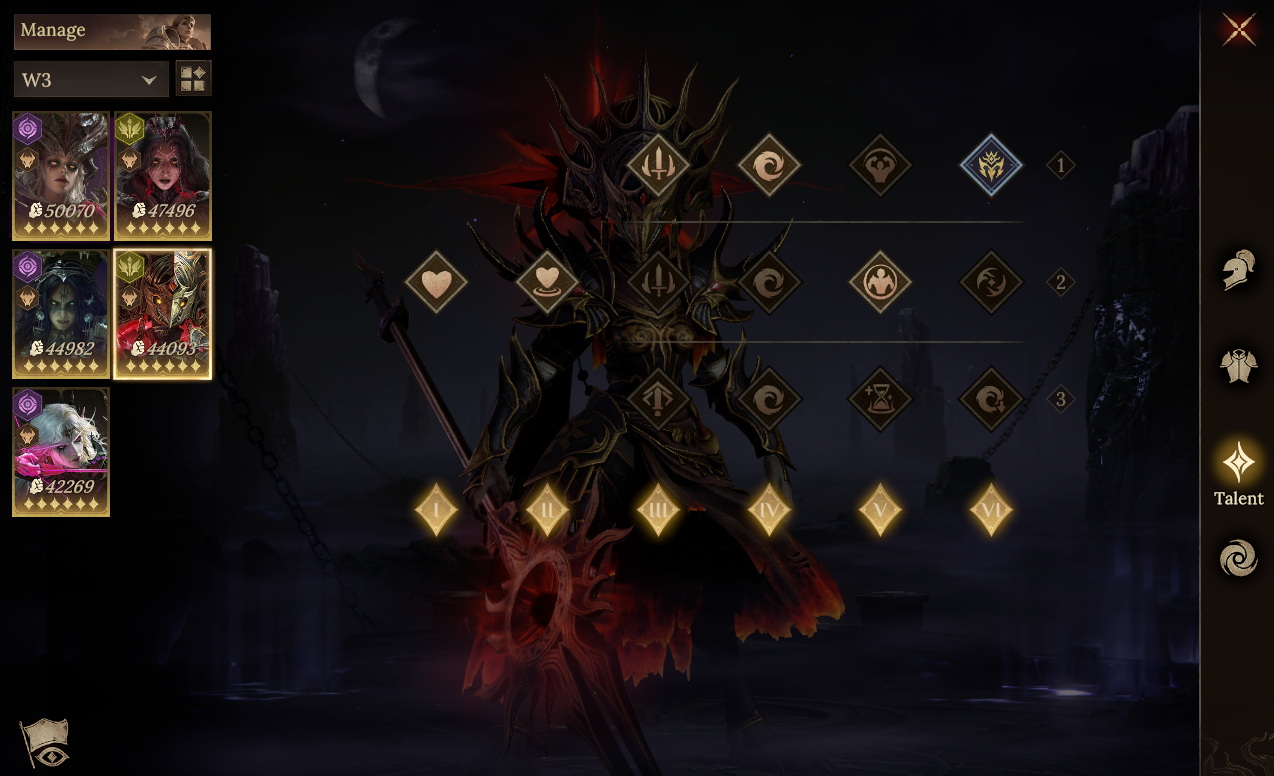
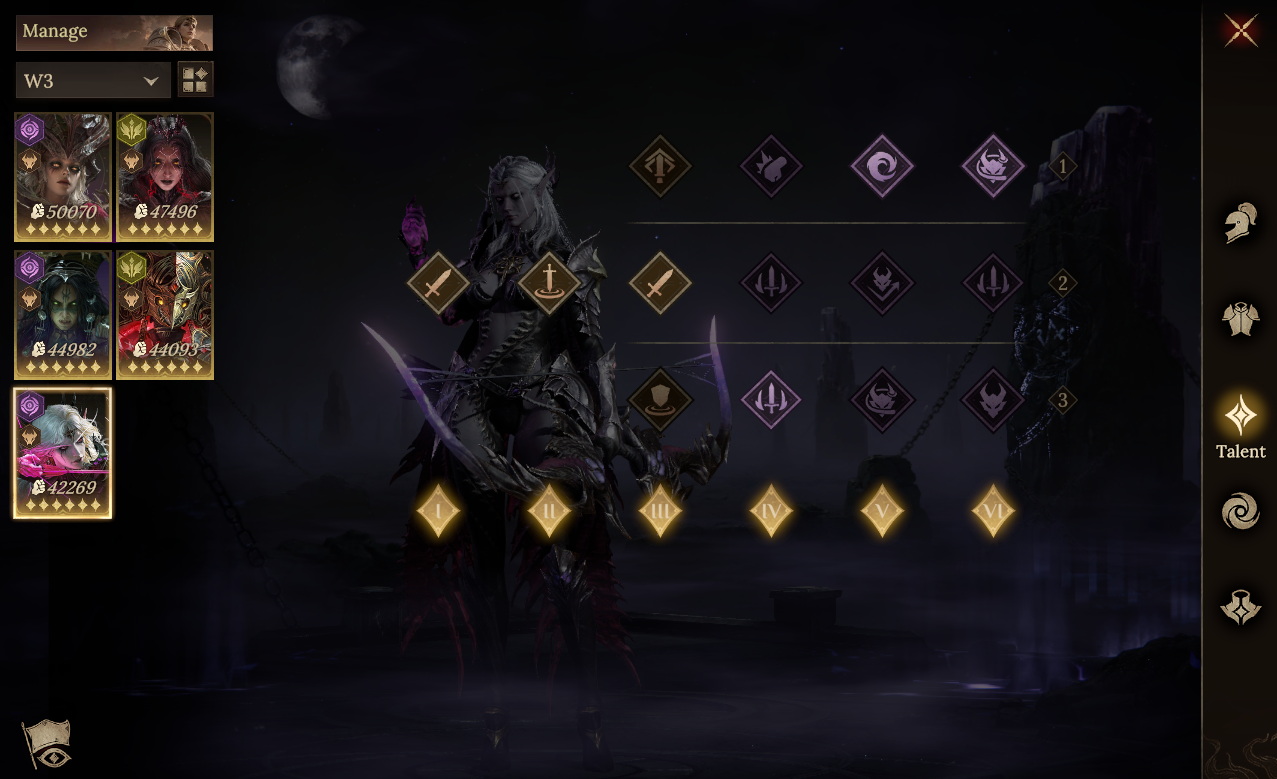
[Recommended Lineup 4]
Team Composition:
Serpentemis + Durango + Twitch + Reytah + Oggok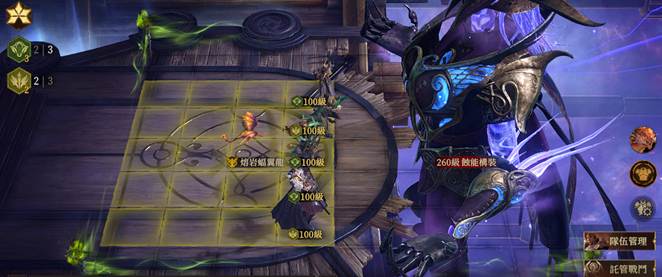
●Team Aura/Familiar
This team can only use Oggok's Resistance Aura. Use the Batwing Familiar to maximize the team's damage output.
●Skill Timing Reference
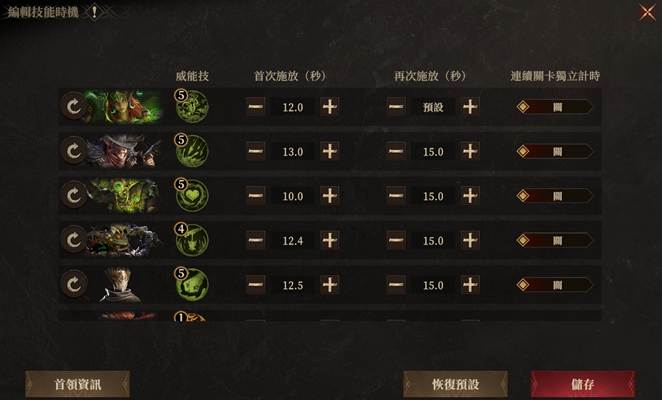
●Important Notes
1. Since the Potent Medicine status counts as a separate Debuff, it may overwrite key Debuffs granted by your team. Sleight is not recommended. If you are under little pressure to survive, replace Reytah with Lothair/Szecedith/Vicana to increase damage output.
●Hero Replacement Reference

Healing
Dispel Debuffs |

Healing
Extend Debuffs
Attack Penalty |

Grant Toxin |

Secondary Damage Output
Grant Toxin |

Main Forces Damage Output
|
| Replacement Reference |
Replacement Reference |

Healing
Dispel Debuffs |

Healing
Attack Penalty |

Refresh Toxin |

Grant Toxin |

Main Forces Damage Output
|
Build Reference
●Key Attribute Requirements
Durango: Accuracy > 270; Crit Rate must reach 100%
Twitch: Accuracy > 220; focus remaining stats on Attack; Skill Haste as high as possible;
Reytah: Accuracy > 220; stack Accuracy and damage output stats as high as possible;
Oggok: Resistance > 340; focus remaining stats on Enlightenment and Skill Haste;
Serpentemis: Accuracy > 100
●Gear Reference
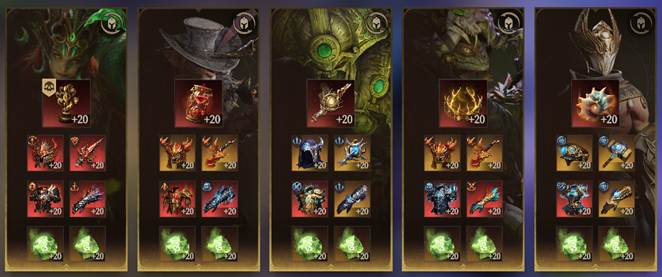 ●Talent Reference
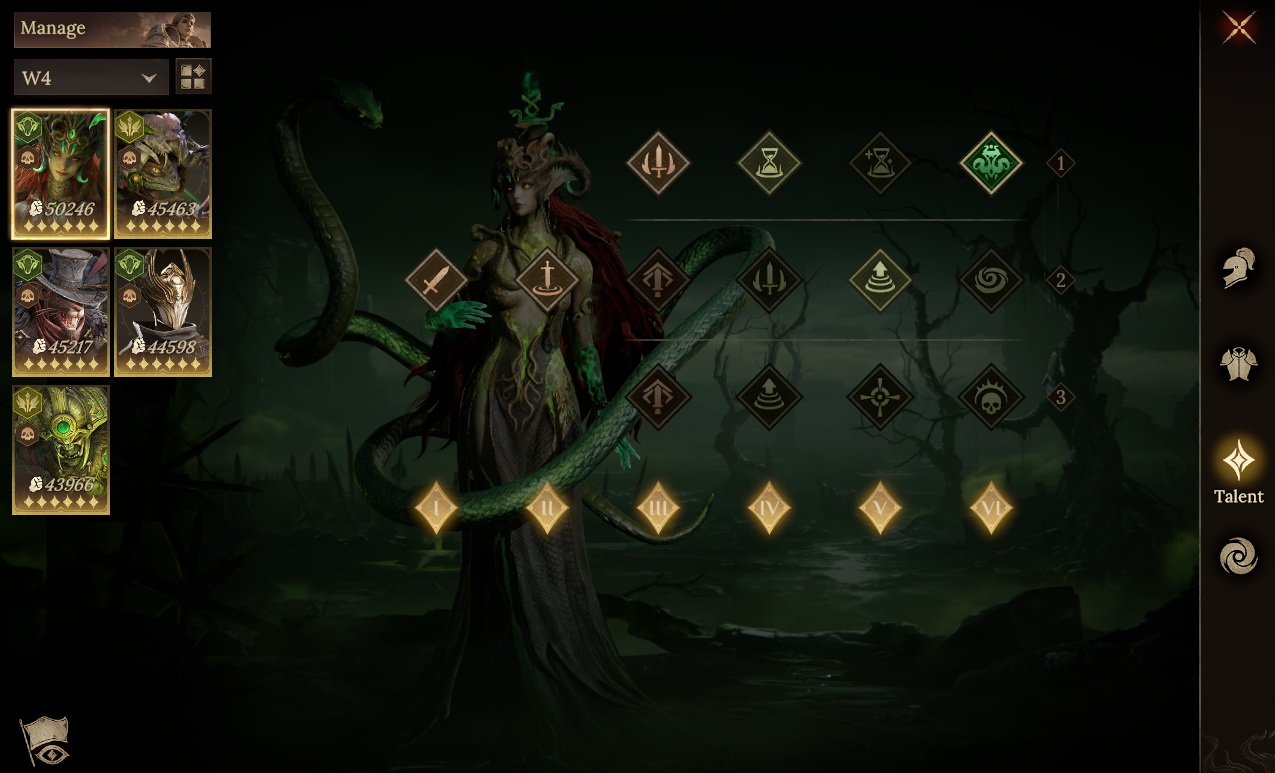
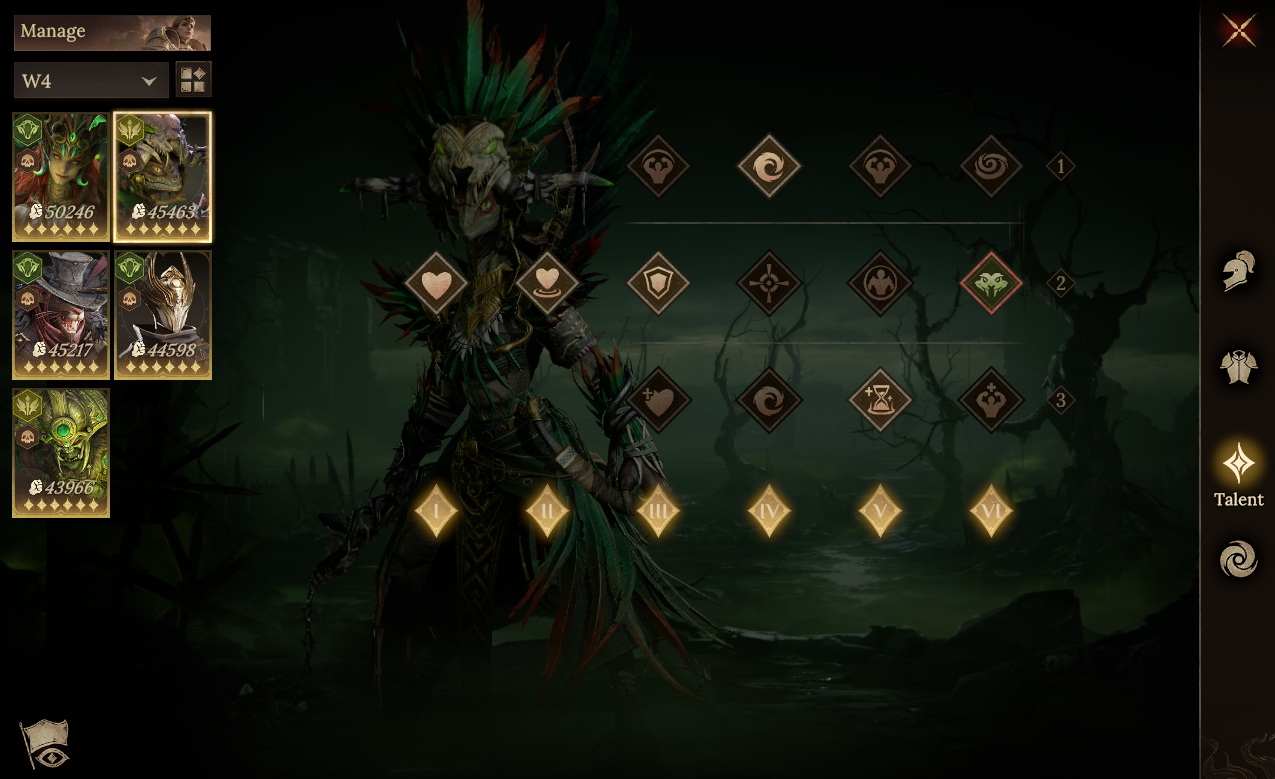
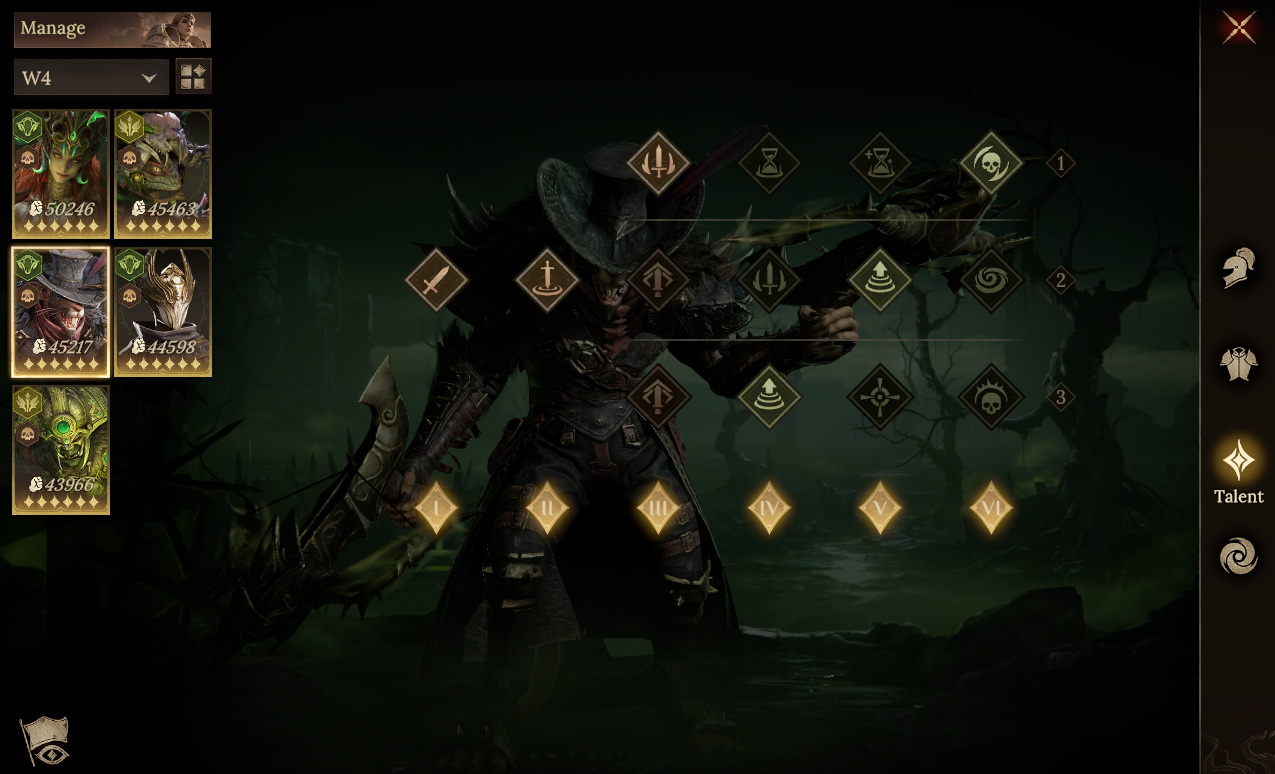
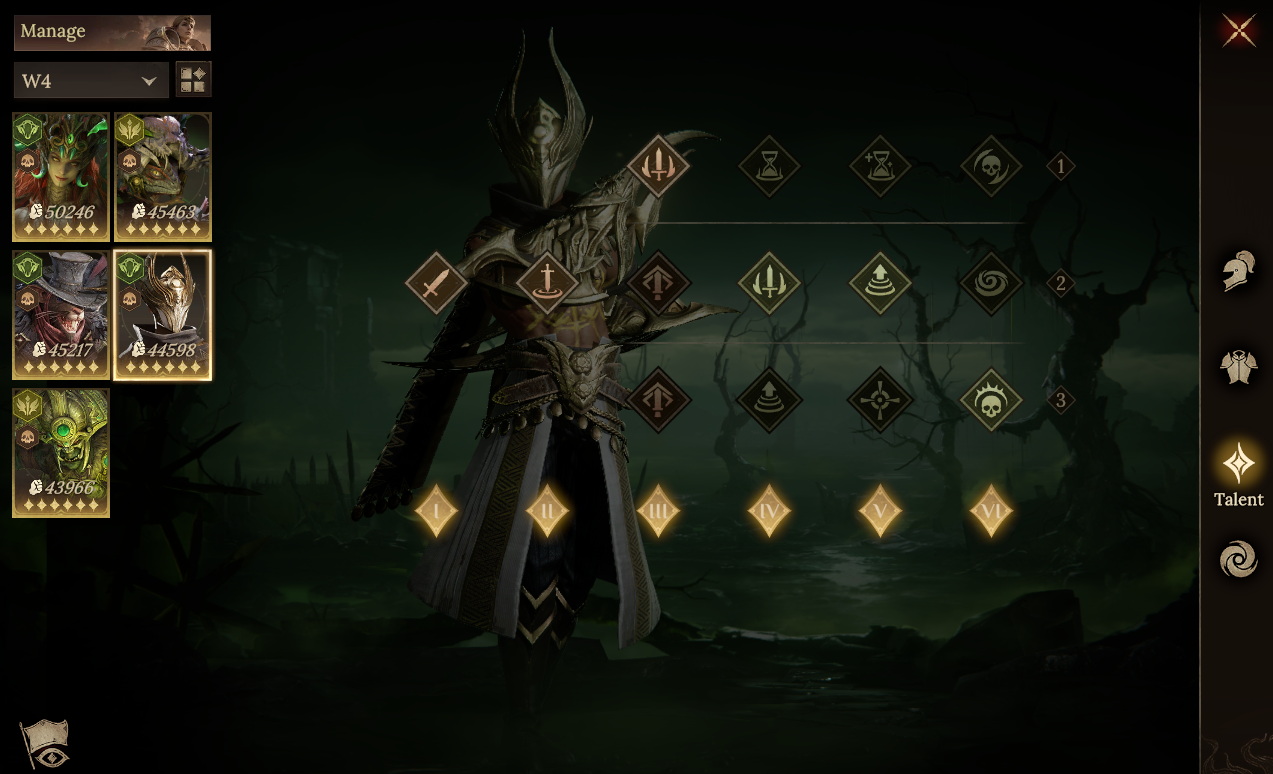
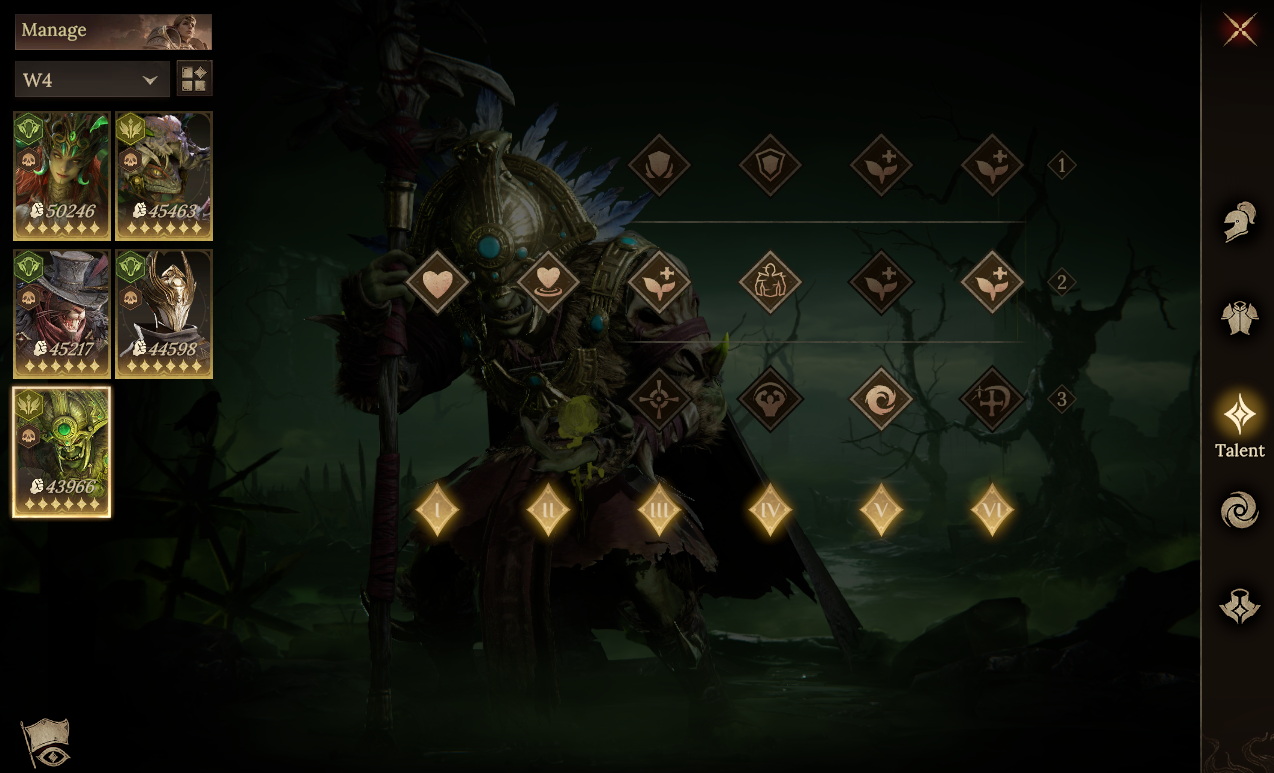
[Recommended Lineup 5]
Team Composition:
Flora + Felicity + Chorak + Thorgos + Scaarr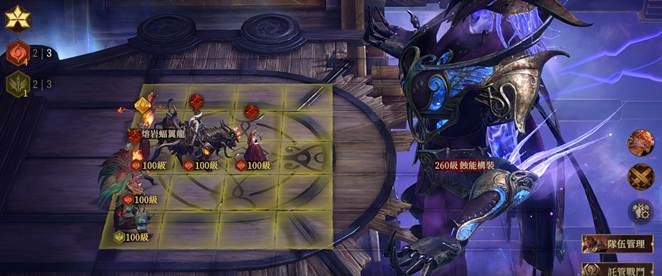
●Team Aura/Familiar
Use Flora's Attack Aura with the Batwing Familiar to maximize the team's damage output.
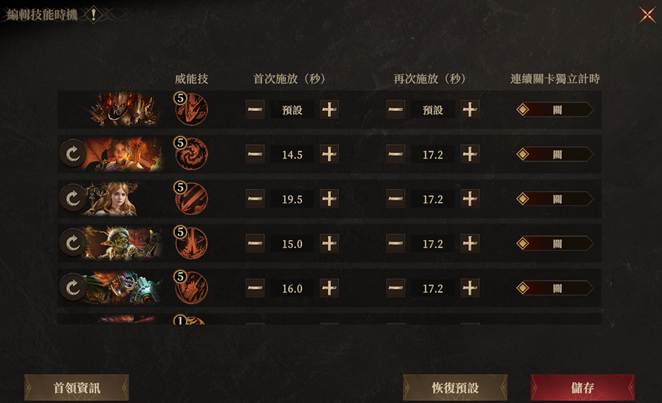
●Skill Timing Reference
●Important Notes
1. Use the positioning shown to reduce the number of allied heroes the Book's explosive attack can hit, with Felicity filling in on the frontline;
2. If you do not have Thorgos, use Caspar instead. If you do not have Scaarr, use Khrysos or Synarell instead.
3.Thorgos's Inspiration Level is ≥2, manually cast his ultimate skill. Use it twice per rotation to increase total damage output: cast it once immediately after Flora casts her ultimate skill, then cast it again once Ultimate Restoration is full.
●
Hero Replacement Reference

Healing
Share Buffs
Increase Ally Damage Output |

Defense Penalty
Frequent Wild Throw
|

Increase Wild Throw Points
|

Secondary Damage Output
Frequent Wild Throw
|
| Replacement Reference |

Ultimate Up
Healing、Shield |

Secondary Damage Output
Frequent Wild Throw |

Increase Wild Throw Points |

Secondary Damage Output |
Build Reference
●Key Attribute Requirements
Felicity: Accuracy > 270; Crit Rate must reach 100%
For all other stats, stack HP and Defense as high as possible;
Scaarr and Thorgos: Resistance > 340, and stack Skill Haste as high as possible
●Gear Reference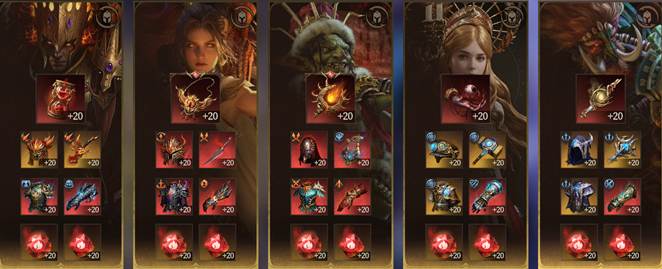 ●Talent Reference
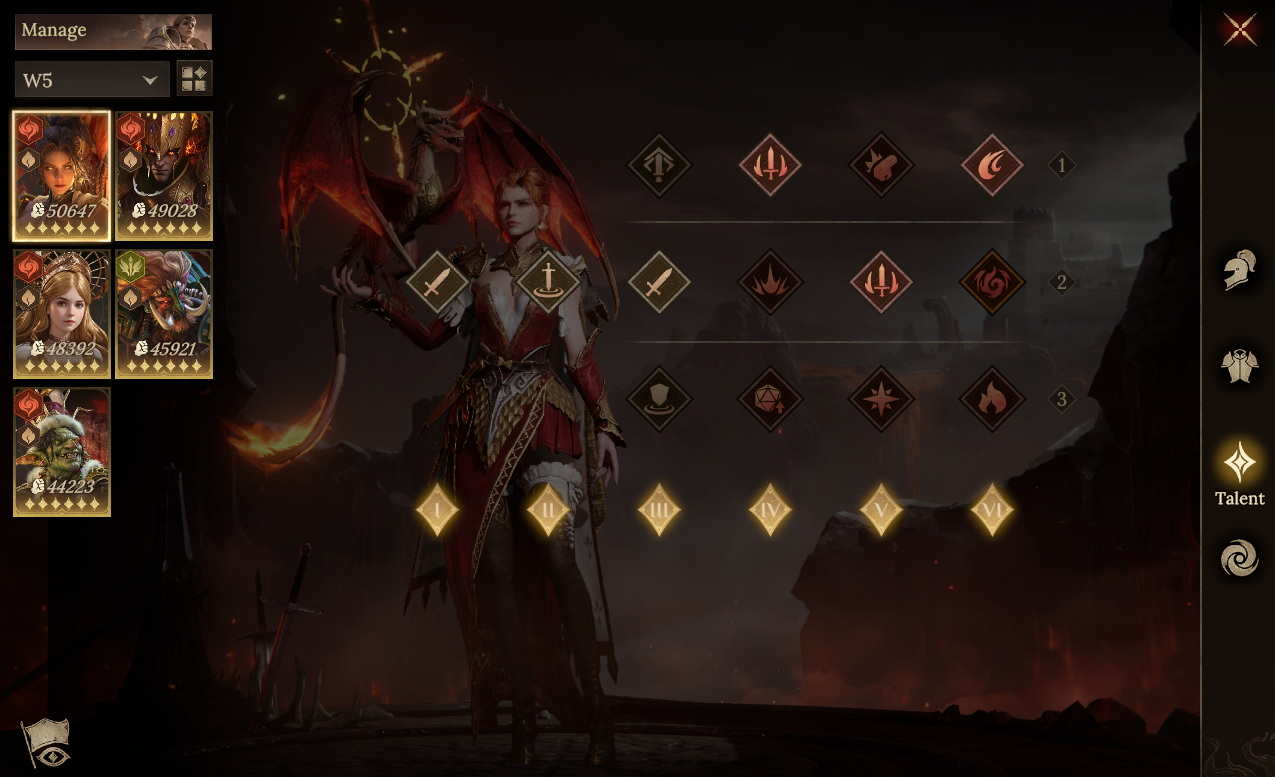
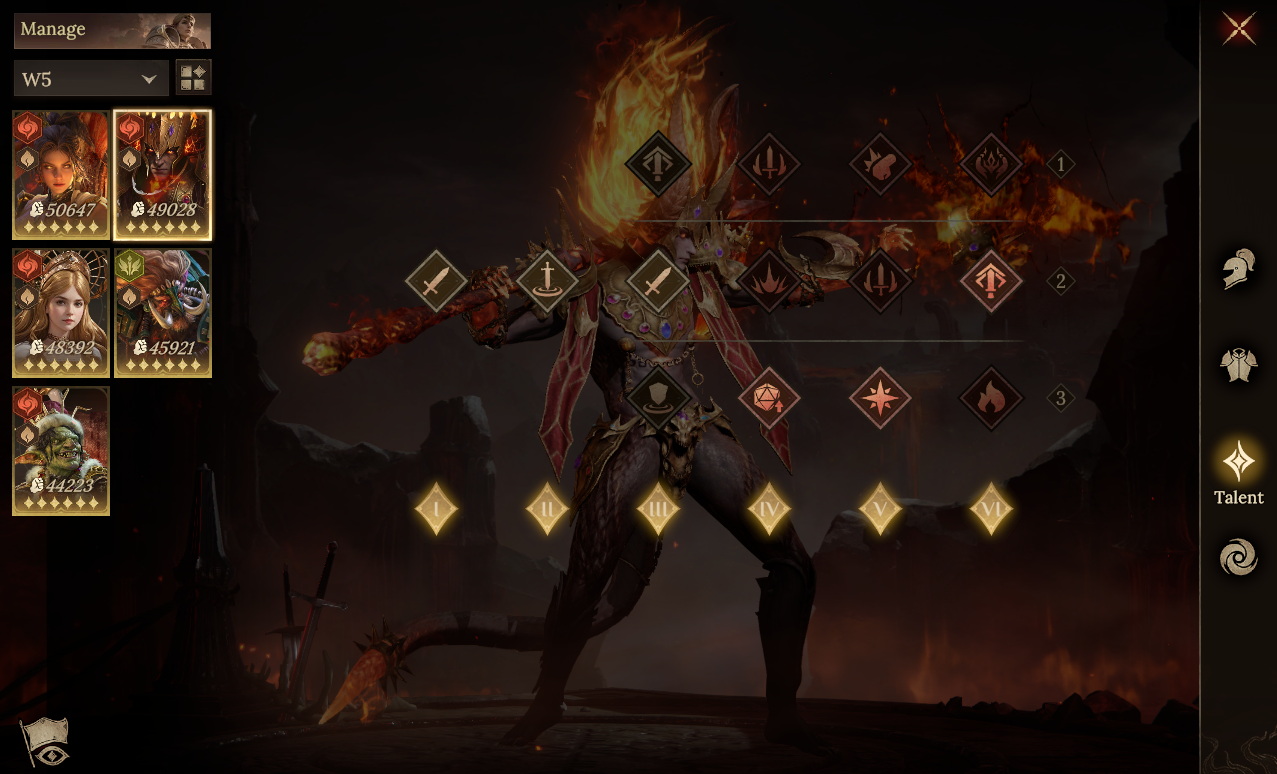
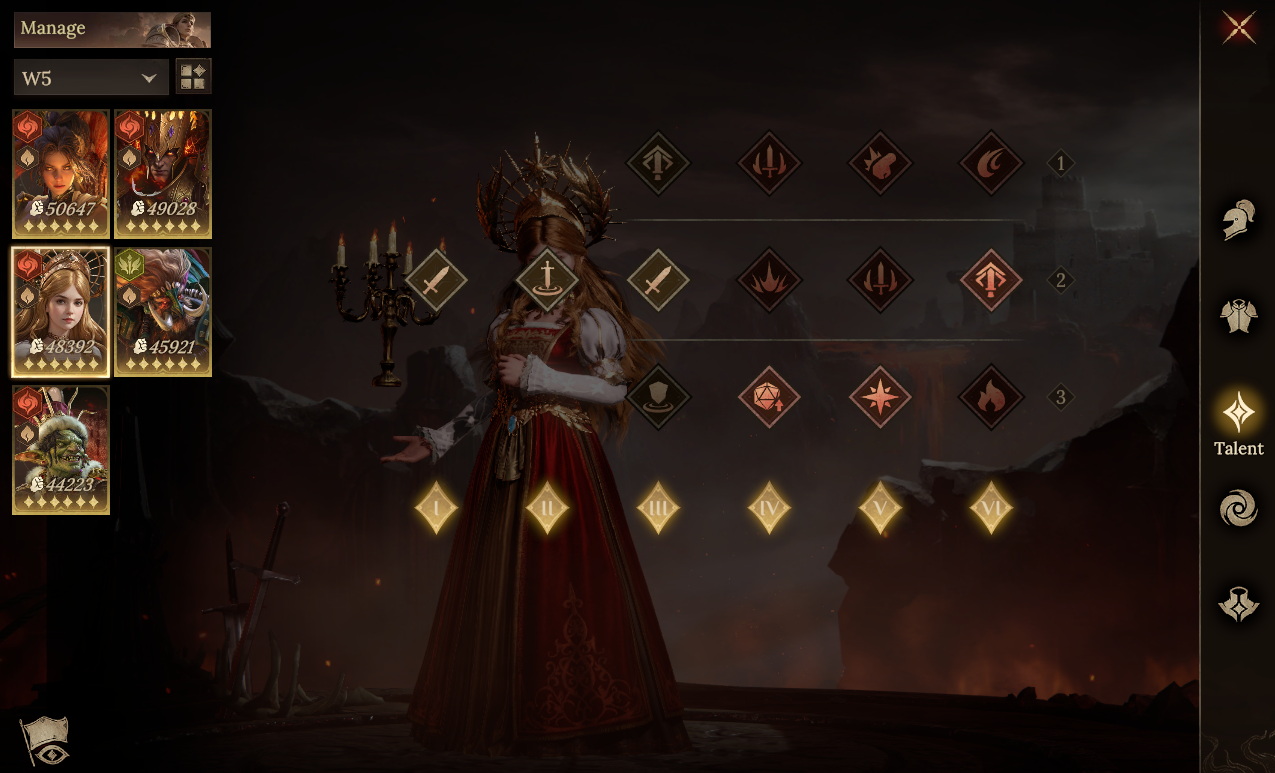
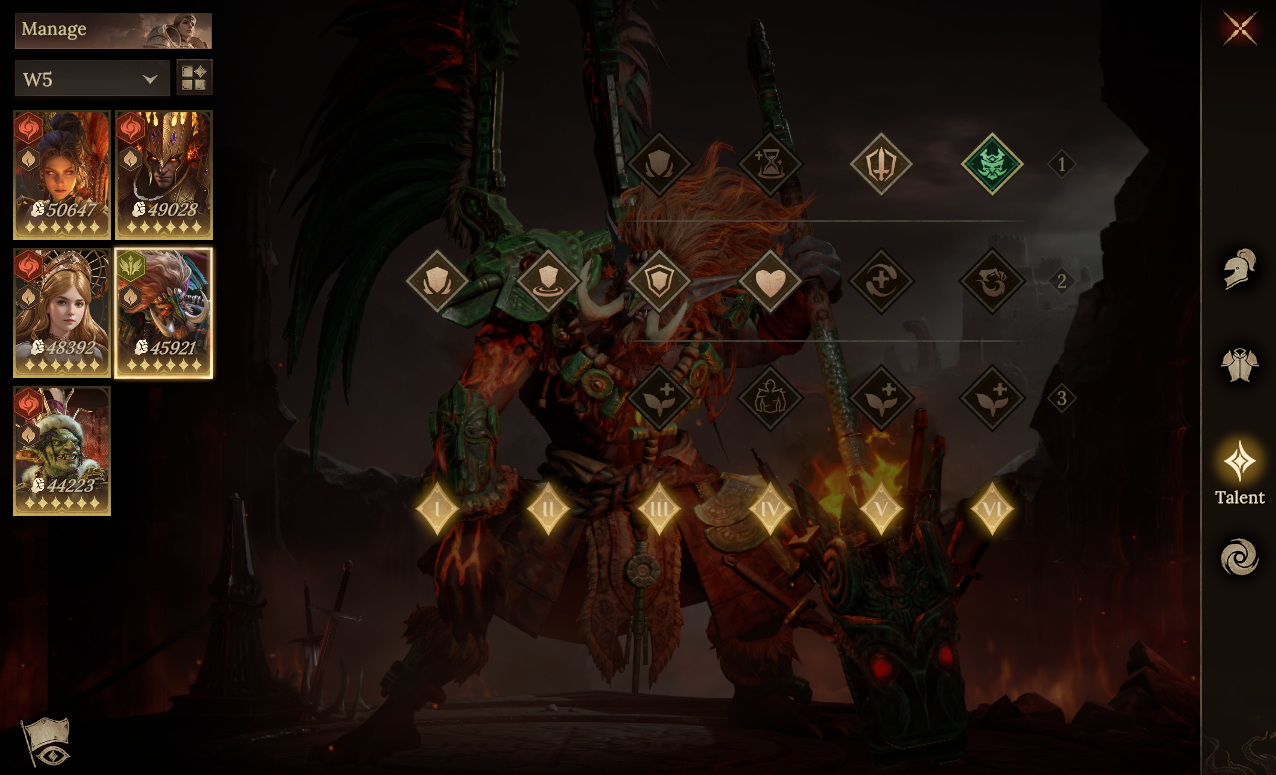
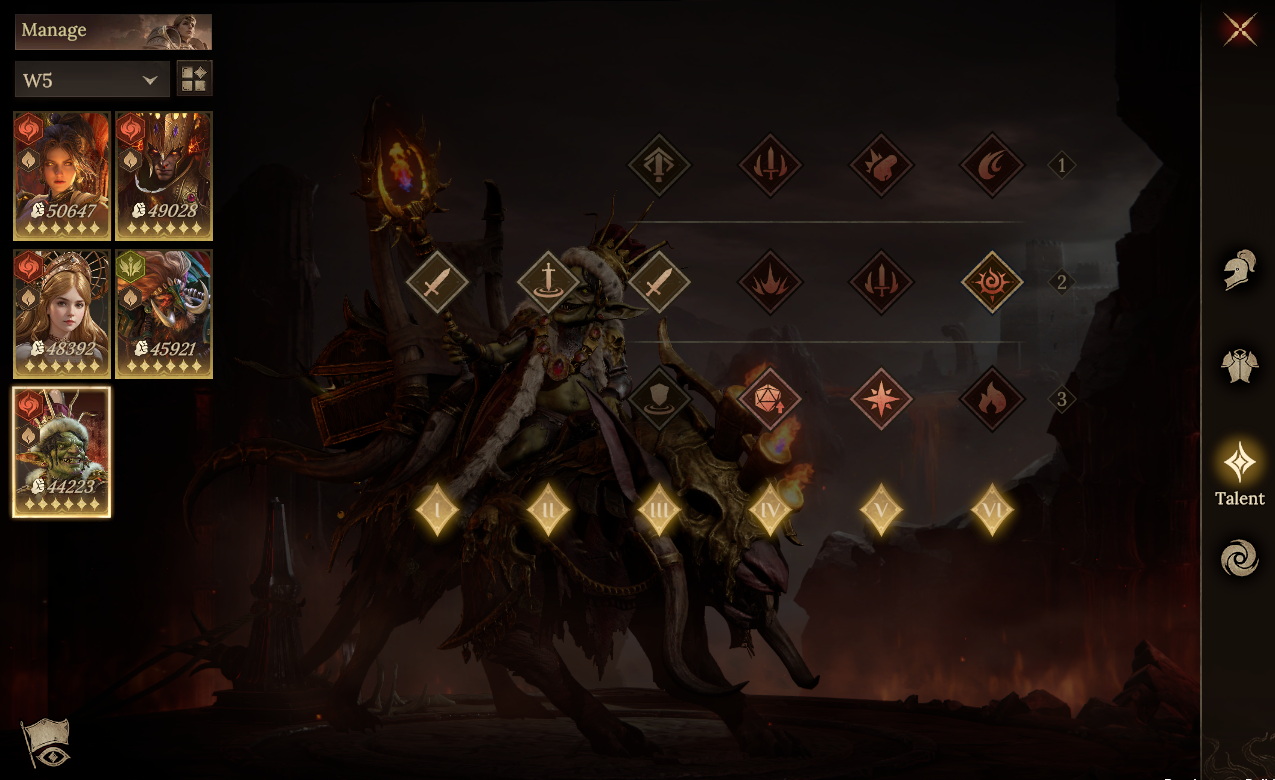
[Recommended Lineup 6]
Team Composition:
Maashtur + Guinavivre + Nastjenka + Kurvida + Tharivol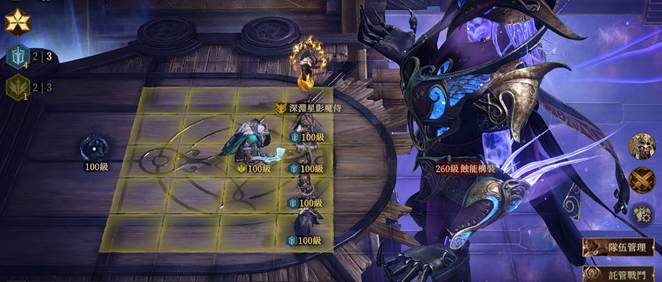
●Team Aura/Familiar
Use Nastjenka's Attack Aura with the Colossus Djinn/Starshade Servitor Familiar to maximize the team's damage output.
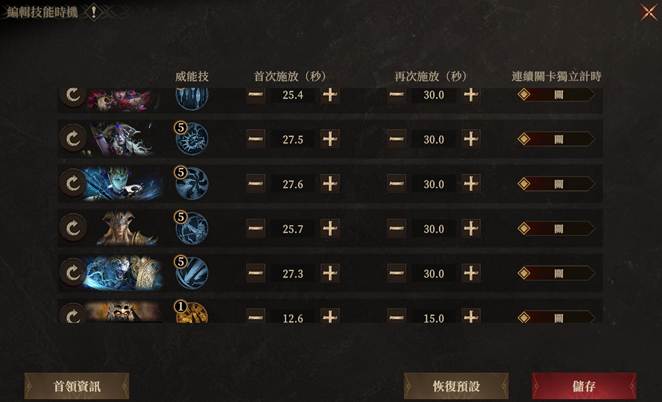
●Skill Timing Reference
This playstyle does not require stacking Resistance, so heroes are affected by Ultimate Down. In this case, set the rotation cycle to 30 seconds for better results.
●Important Notes
1. Travelers without Maashtur should use a 2-Support + 3-DPS strategy. In this case, do not field Tharivol; replace him with Nathaniel/Irmoush + Tamar.
2. If surviving becomes difficult, you can also replace the Dauntless Build heroes' Talent IV with [Undaunted].
●Hero Replacement Reference

Shield、Healing
Grant Multiple Debuffs
Increase Ally Damage Output |

Secondary Damage Output
High-Frequency Basic Attack |

Main Forces Damage Output
Coordinated Attack |

Secondary Damage Output
Coordinated Attack |

Secondary Damage Output
Increase Ally Damage Output
|
| Replacement Reference |

Healing、Shield
Dispel Debuffs |

Secondary Damage Output
High-Frequency Basic Attack |

Main Forces Damage Output
Coordinated Attack |

Secondary Damage Output
High-Frequency Basic Attack |

Secondary Damage Output
Increase Ally Attack Speed |
Build Reference
●Key Attribute Requirements
Maashtur: Accuracy > 270; focus remaining stats on HP and Defense;
Kurvida: Accuracy > 270; stack Attack as high as possible to share more stats with Guinavivre;
Guinavivre and Tharivol: stack Attack Speed as high as possible on Rune Secondary Attributes
●Gear Reference